

The Embossing Diffuser Set are transparent plates designed for use with your embossing folders.
Embossing is a technique by which we give texture to a material (usually paper or card). It is also known as ‘embossing’. To do this embossing we use embossing folders, which contain an embossed design inside. We place the paper inside, and when we pass it through the embossing machine, the pressure of the rollers makes the design get engraved on the paper. In this post you can find more information about our embossing folders.
Due to the success of our embossing folders, we have decided to design the Embossing Diffuser Set so you can get more out of them and create many more projects with them.

What does it include?
The set includes 3 models of Diffuser: a circle, a large vertical oval and a small horizontal oval.
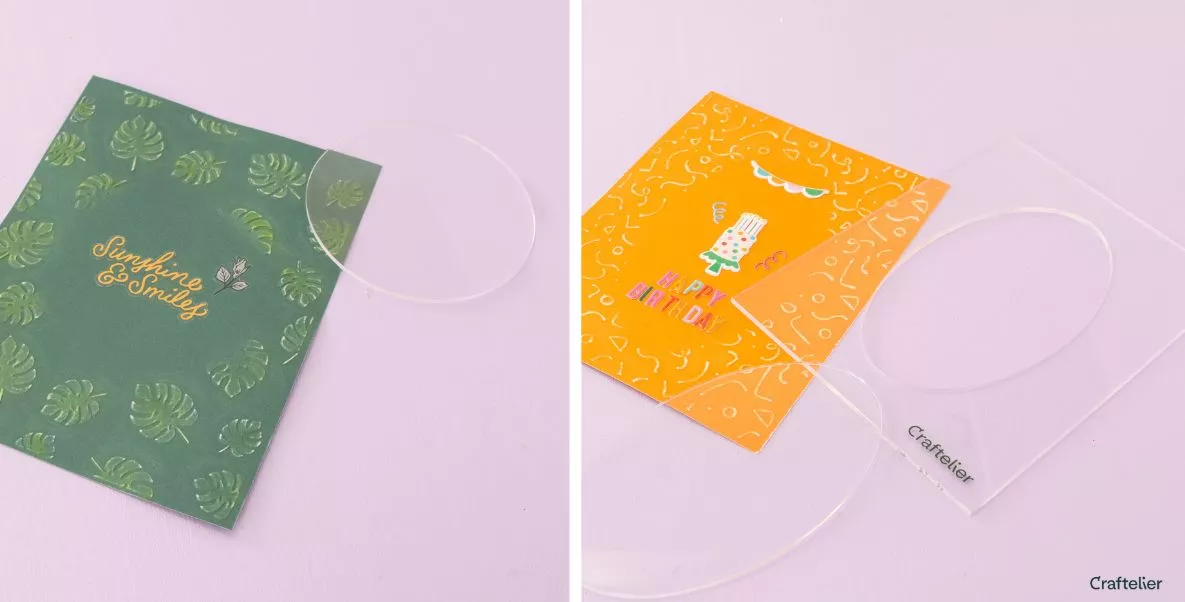
And each one consists of 2 pieces: positive and negative. This way you can choose the area to ambush. They are transparent so you can see exactly where you place them on your project.
Moreover, they have the same size as the embossing folders: 15 x 20 cm.
How do they work?
As we have said, embossing is a technique in which pressure is applied to create a relief. So, what happens if we don't want that embossing in an area of our project? This is where diffusers come in.
What they do is leave an area of your project free of pressure. For example, if you use the outside of the diffuser with the circle design, when you run it through the die cutter you will get an embossing except for the hollow part of the circle. This is because, as the pressure does not reach that area, the folder cannot mark the material.
On the other hand, if you place the circular piece, the embossing will only be done in the area where the circle is.
That area that remains smooth, you can use it to stamp a stamp, write a note, put some decoration, etc.
How to make the sandwich with the Big Shot and the Embossing Difuser Set?
To place the pieces correctly, we will do it in the following order, starting from the bottom:
- Base plate
- Embossing folder with paper or cardboard inside
- Embossing Diffuser
- Methacrylate plate
When passing it through the machine we will do it little by little, gently, we must avoid forcing it if we see that it is very difficult. This may mean that the material we have put inside the embossing folder is too thick. We can pass even a 240 gr cardboard folded without any problem.
Under no circumstances should the diffuser be in direct contact with the rollers of the die-cutting machine, as the difference in pressure could cause damage or breakage.
What can I create with the Embossing Diffuser Set?
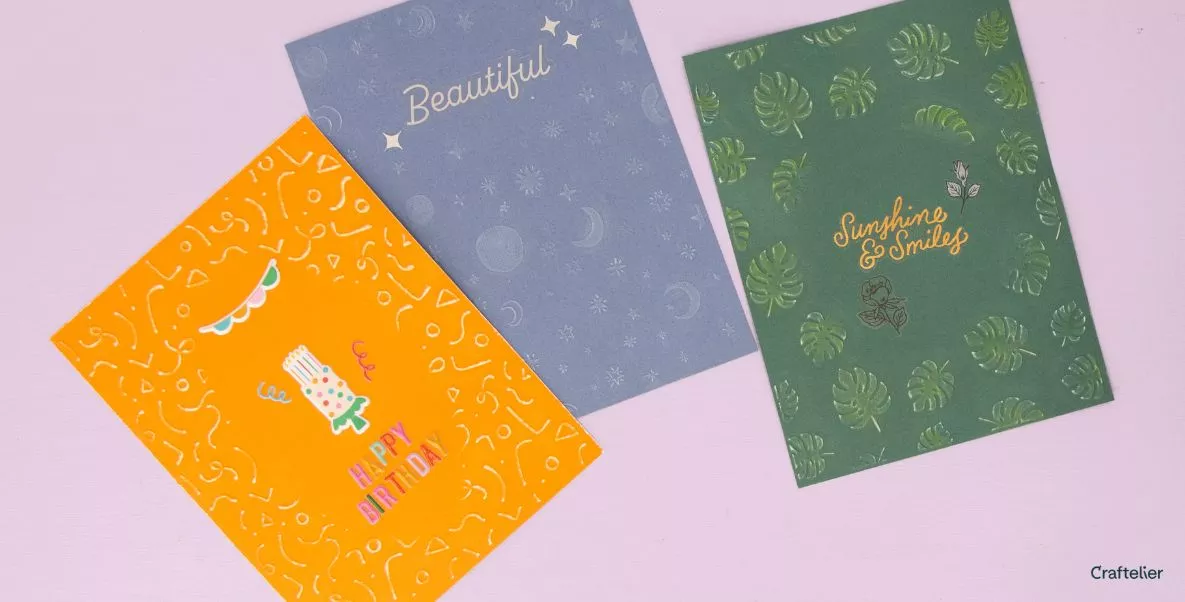
You can make anything from cards to album pages, garlands, invitations... Anything you can think of! You can also combine it with other techniques such as, for example, using inks and sandpaper to highlight the embossing. Or you can also combine it by making another embossing with your dies and the Embossing Magic Mat.
As we always say, imagination is the limit, and the most fun thing about scrapbooking materials is playing with them and inventing new ways of using them to get the most out of them.
We hope you'll try them out and don't forget to follow us on social media for more inspiration with our products.
Products related to this post
Do you want to unleash your creativity? Do you want to know which products we have mentioned in this post? Here they are:








