

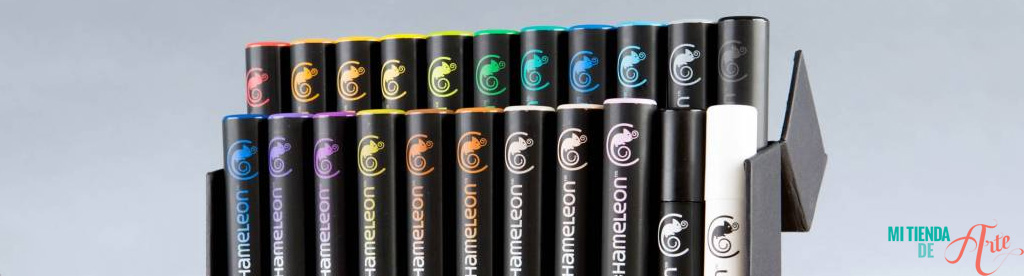
These markers are really popular, and how could they not be? With each Chamelon marker, you can get ten different colour intensities, making them very versatile and economical. It's always better to buy one than ten ✌️
If you don't know them, you can check our post "How do Chameleon markers work?", where you can find out more about what they are and how they work.
Now, let's see some tips and techniques for colouring scrapbooking stamps with Chameleon pens for a realistic effect.
1 · Hold the blender down when applying it to one end of the marker. This allows the mixing liquid to integrate more quickly with the ink.
2 · Do not hold your marker too flat on the paper, as the darkest ink has settled on the part of the tip closest to the marker, so if you paint this way, you won't get a good gradient. The tip should touch the paper at an angle that is neither too straight nor too oblique.
3 · To achieve a uniform colour over the entire surface and avoid the gradient marks becoming visible, paint in a "zigzag" pattern, always going back slightly over the previous stroke. This way, you'll get a nice transition from the lightest to the darkest colour.
4 · Store your markers horizontally, so there is the same amount of ink on both tips. If you store them vertically in a pencil pot, the ink will condense on the downward-facing tip.
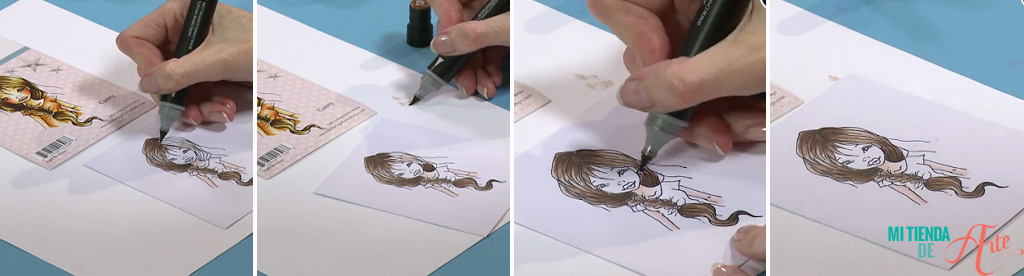
5 · If you are painting stamps, use permanent ink to stamp them. Now let's get down to work! Let's start with hair. The hair is a very important part and often causes problems. It requires a bit of practice to make it better little by little. You can look at the picture that usually comes with the stamp, to detect which ones are dark or light. Start colouring the darkest areas, this time you won't need to use the blender. Now, go to the next area of colour. Insert the tip into the blender and wait a few seconds. Before painting the image, test it to check if it's the colour you are looking for. Then, go back to the drawing and start with the lighter areas. When the marker gets darker again, refine the difference in colour between the dark tone you painted before and the lighter area. Put the tip back into the mixer as many times as necessary. Little by little, the colours will blend together.
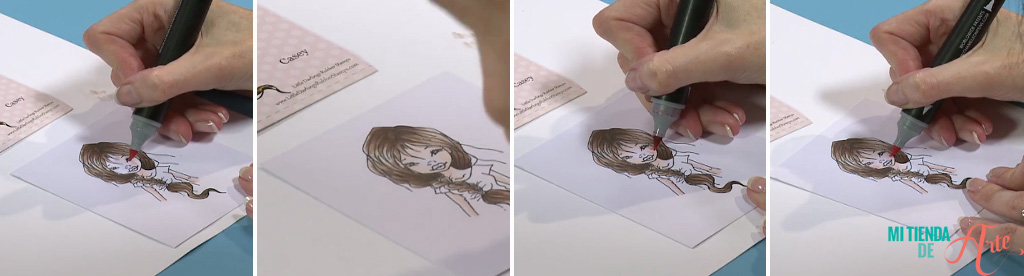
To paint the face, use the blender to get a lighter tone. Start in the centre of the face and spread the colour outwards. On the outer parts of the face, apply a darker colour. Keep in mind that the closest area to the hair is darker. Once you have these areas defined, blend them with the blender. Now it's time to apply some blush to the face! Take the red highlighter to accentuate the cheeks. Dip the tip into the blender to get natural colour and test the intensity outside the image before colouring it. Paint small dots on the cheek and return to the colour you used to paint the face to lighten the area a little. This way, the blush is totally blended with the skin tone.
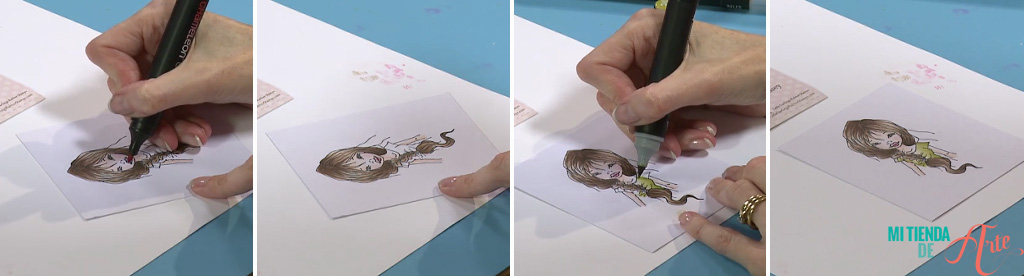
Another important spot is the lips. Go for the fine tip to be more precise and paint them in a light colour. Once the marker gets darker, paint over the upper and lower lips union, as this is the darkest area. Now it's time to paint clothes. Paint a few small lines with olive green in the areas where the folds are before applying the blender to our tip. Then, with a lighter tip, blend from the inside out.
These are our little tips to start colouring with Chameleon markers. We hope you have found it helpful and that you can colour in your projects with these fun markers ❤️








