

Introducing our new heat sealing tool, which allows you to seal plastic and sleeves to create pockets and custom designs for your projects. With the Minty Fuse Tool, you can cut plastic cleanly or fuse it with a beautiful stitched effect. In this post, we explain how to use it step by step, its possible applications, and some tips and tricks to get the most out of it.
What does the tool include?
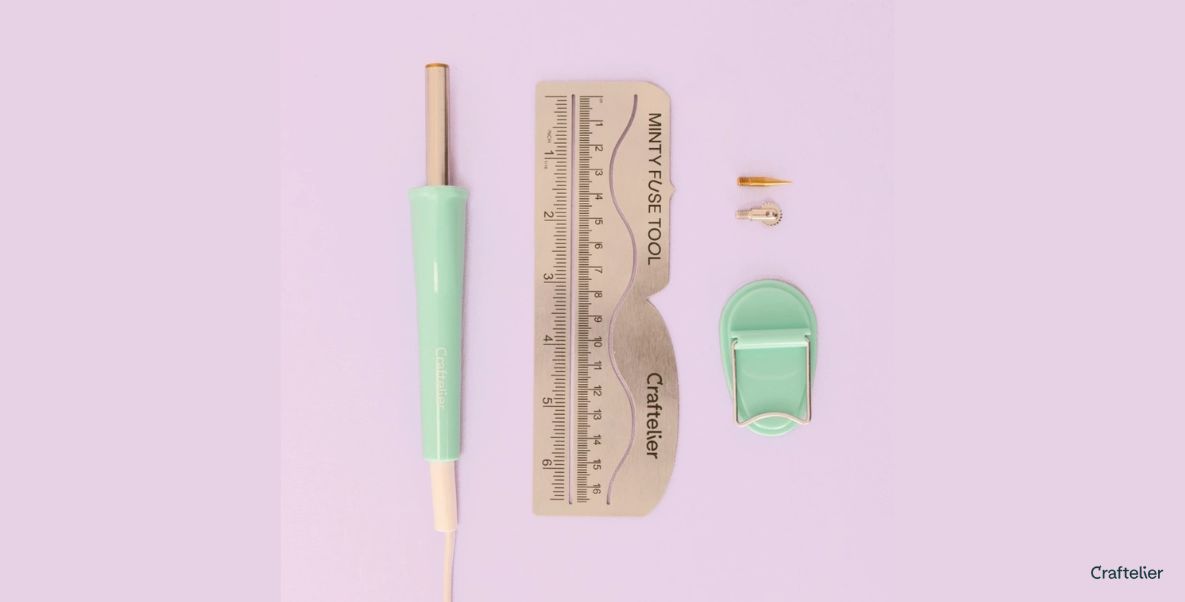
At first glance, the Minty Fuse Tool may look like a pyrograph, but this heat tool is actually designed for use in scrapbooking and stationery projects. The kit includes the tool, two interchangeable tips, a metal ruler with different shapes, and a stand to support the Minty Fuse while we work with it.
It has a plastic handle so you can hold it comfortably and safely, as the metal part heats up and reaches high temperatures.
The fine tip (for cutting plastic) and the tip with the serrated wheel (for sealing the sleeves) can be screwed onto the end.
How to use the Minty Fuse
Before using it, we must plug it in and let it heat up for five to ten minutes. If the tip is not hot enough, it will probably not seal properly. As for the sleeves, it is best to use high-quality ones, such as our Craftelier Sleeves, to ensure perfect results, without holes and with a uniform seal.
Once the Minty Fuse Tool is hot, using the metal ruler (we cannot use a plastic ruler as it would melt), we run the serrated wheel over the plastic at a constant speed and pressure, perpendicular to the work surface. If we go too fast, the plastic will not melt, and if we go too slow, we may burn it. Practice will help you find the right speed and pressure.
You can use the metal ruler (which measures 16.5 cm) on the side, both straight and shaped, or on the straight and wavy inner guides. In addition, the back of the ruler has silicone dots that prevent it from moving while we use it. As the tip of the Minty Fuse Tool is very hot, we can use the metal stand to rest it on, thus protecting our work surface.
On the other hand, it is also important to consider the surface on which we use our Minty Fuse. The cutting mat is not a good option, as it is made of plastic and is unlikely to withstand the heat. Cardboard could be an emergency solution, but we recommend using a silicone mat. As well as being heat-resistant, this material has another advantage: as it is soft, it helps the sleeves to seal properly, allowing you to apply more pressure to the sprocket.
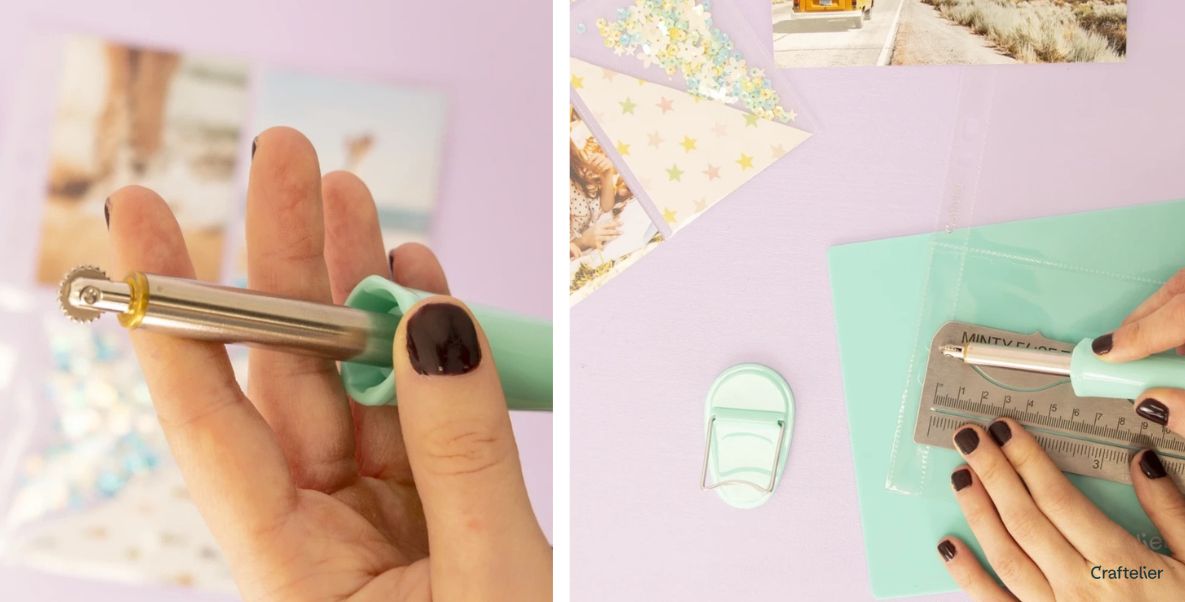 This video shows you step by step how to use your Minty Fuse.
Projects you can do with the Minty Fuse
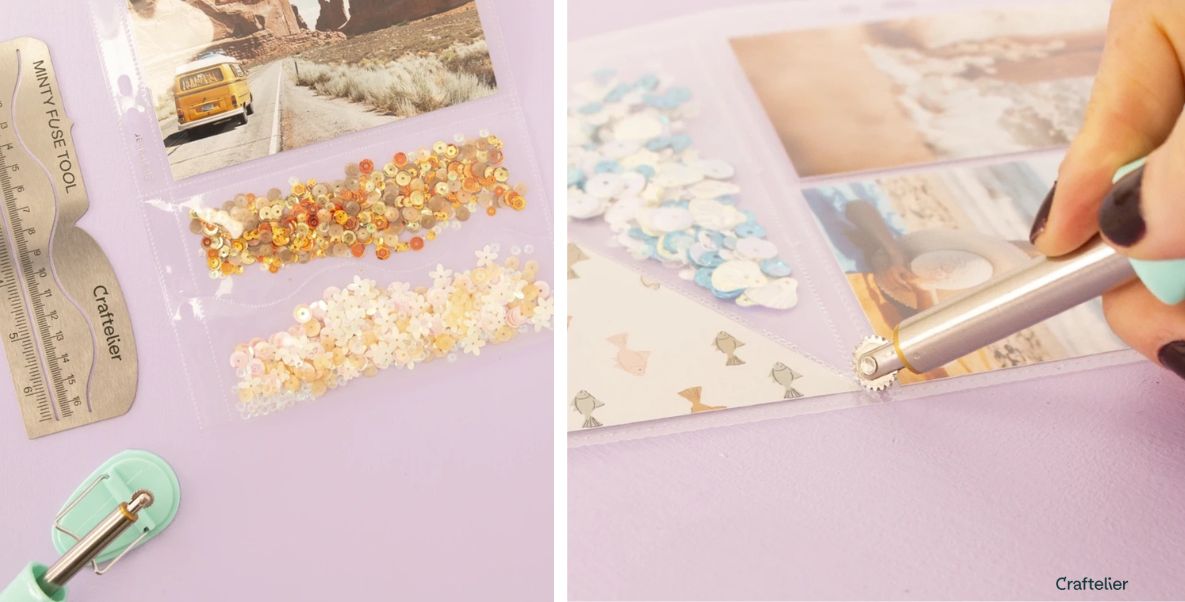
This tool is primarily designed to create pockets in Project Life sleeves, but it can be used for many different projects. If, instead of paper pages in your album, you decide to use plastic sleeves, with the Minty Fuse you can customise all the pockets, make them to the size you want, and even insert elements such as confetti or sequins and then close them.
Another common use for the Minty Fuse is to create shakers. These can be made in pockets, as mentioned above, or in all kinds of shapes: stars, bookmarks, initials, etc. These embellishments can be glued onto other projects (such as layouts, album covers or cards) or you can add a chain to hang them. Extra tip: you can use your dies as templates, as they are metal and can withstand the heat of the Minty Fuse Tool tip.
Want more ideas?
How about a personalised garland? Put each letter inside a sleeve, add confetti or glitter and seal it. Join the letters together with string or ribbon, and you're done!
We already know we can make pages with it, but what about an album structure? You can do that too! You can create original front and back covers, with or without a spine, to make a truly unique album.
A detail for a clip, a keyring, an envelope, a cake topper... The possibilities are endless! If you thought this tool wasn't for you, we're sure we've changed your mind. With the Minty Fuse Tool, you'll have the best ally for adding a fun and unique touch to your projects. Try it now!
Related products to this post Want to unleash your creativity?
Want to know which products we have mentioned in this post? Here they are:








