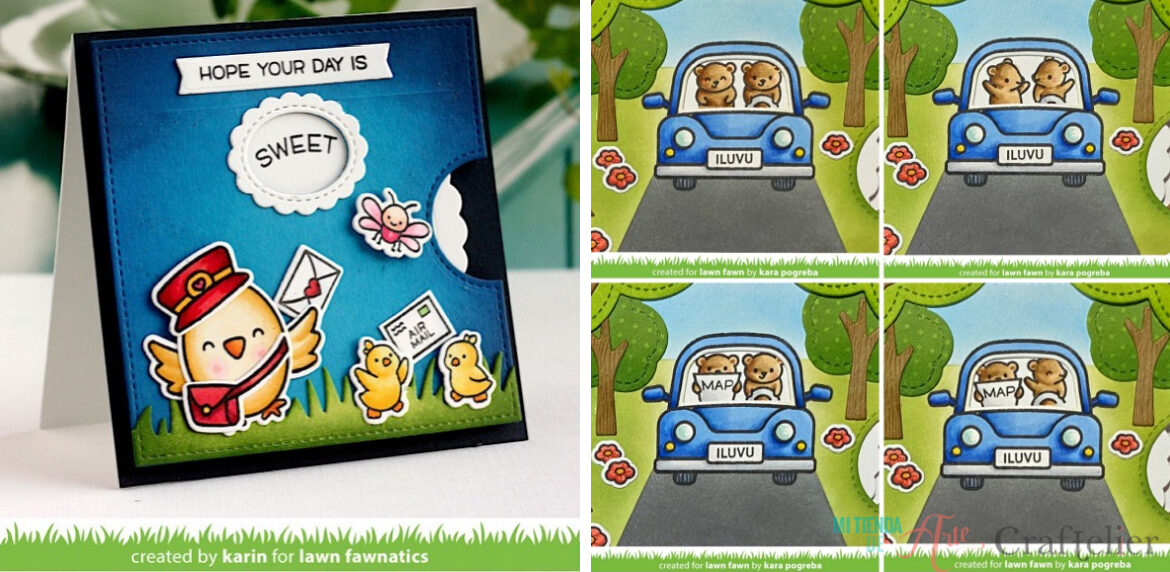
We always discover new stamps and dies with a wide variety of designs and themes from Lawn Fawn, and we can spend hours browsing through their extensive catalogue! Among their most popular products are the coordinating dies and stamps that do wonders on our projects. Now, they are introducing a new line of products that we love: the Reveal Wheel.
What are Reveal Wheels?
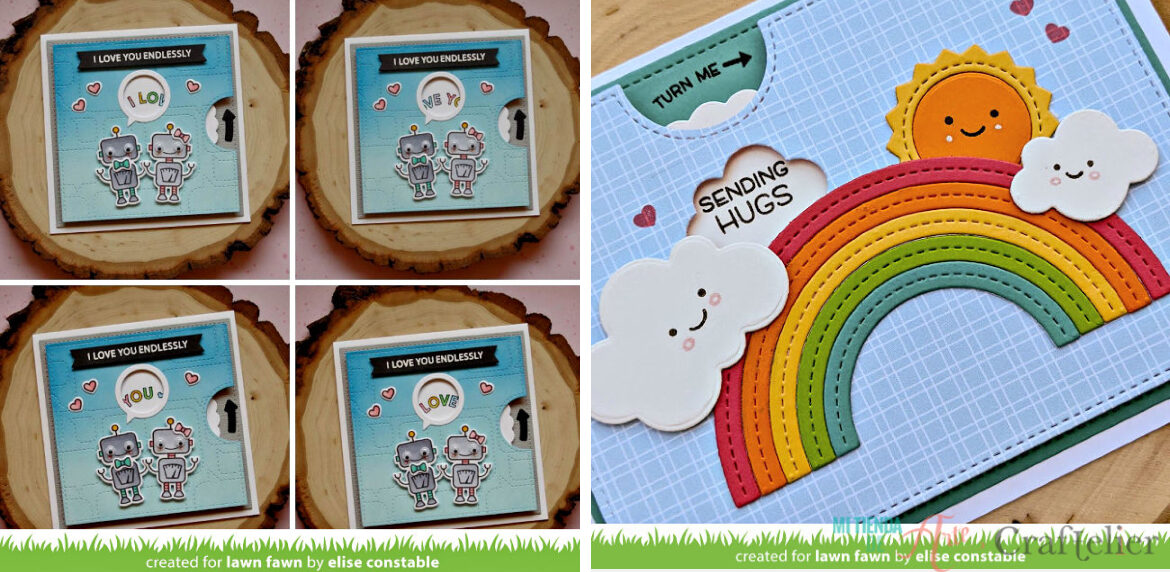
You may not be familiar with them yet, because these products are relatively new. The Reveal Wheel is a series of dies that coordinate with stamps and stencils and that allow us to make interactive projects. By using them we will be able to create windows in our projects in which, by spinning a wheel, we will see different messages or sentences appear.
Which materials do we need?
To make the device that will allow us to change the message or illustration, we will need:
- A die-cutting machine
- Reveal Wheel dies. We will need both the die that will allow us to make the complete wheel, and the dies that will make the windows through which we will discover the messages. There are many interchangeable options available, just fit them together like a puzzle and that's it! We can make windows in the shape of ice cream, leaves, shooting stars, butterflies... and of course, more classic shapes such as rectangles or arches.
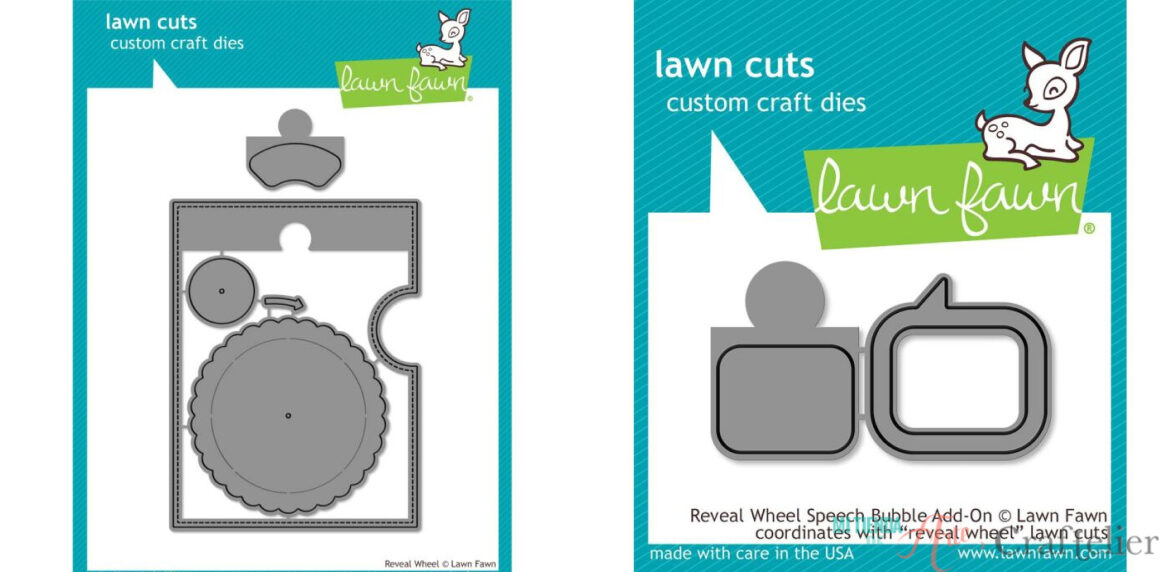
- Compatible stamps with our Reveal Wheel
- Templates Reveal Wheel (optional)
- Scrapbooking paper and/or cardboard
- Adhesive
- A brad
- Adhesive Foam Squares
How to make a Reveal Wheel
This kind of project is easier than it looks. In just a few minutes, you will get an interactive card that will be the perfect gift for your correspondent.
1. Cut out the dies for our Reveal Wheel set. By the time we've finished die-cutting our pieces, we should have:
- the back and front of our card. To get these two pieces we will have to die-cut twice the corresponding die. To make the front part we will have to add our chosen die to make the window.
- the rotating wheel
- the wheel protector (the small circle)
- the arrow that will help the receptor of our card to know which way the wheel should turn.
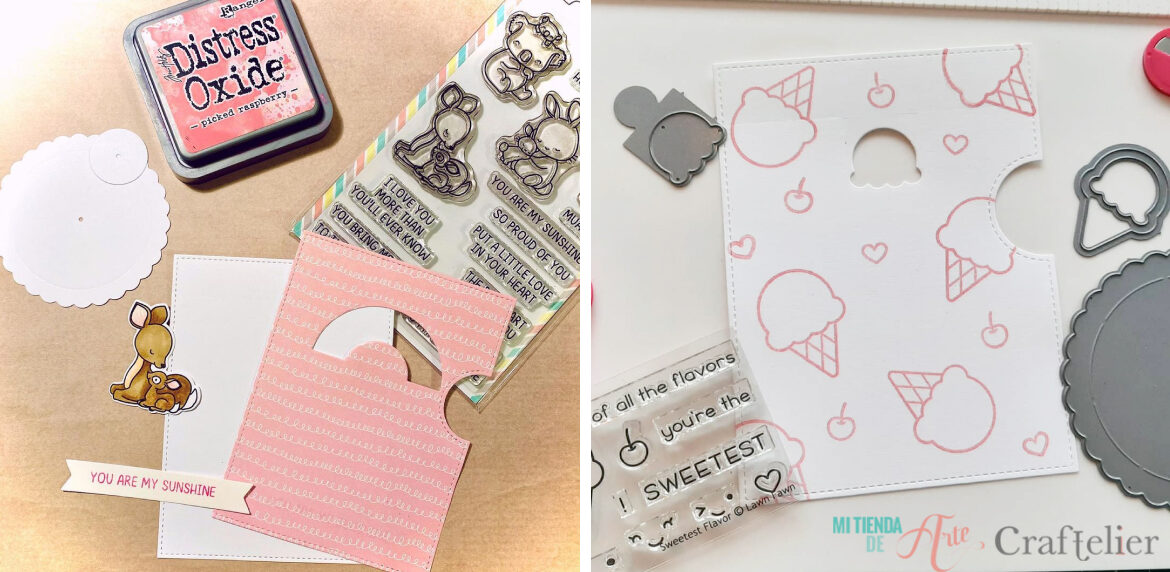
2. To assemble the turning mechanism of our wheel, insert a brad through the smaller circle and the large wheel. Rotate both wheels a bit on the brad, to make the hole a bit bigger and make it rotate better. Put some foam stickers around the brad on the small wheel.
3. Depending on the Revel Wheel set we are using, this point will be a bit different as it is the moment to place our wheel on the back of the front of our card, the one with the window. For this, as we said, there are several options:
It may be that your die cut has some embossed marks, so you just have to place the wheel in such a way that the marks are not visible through the window or the small side indentation of the card.
If we have Reveal Wheel Stencils, you just have to place them on top of our wheel and mark our windows very softly with a pencil. Once this is done, do the same as if your wheel had embossed marks, move the wheel until you can't see the marks. Don't worry about the marks, you can erase them later to prevent them from being seen.
The last option we propose is, simply, with the help of a ruler, to find the centre of the card and the wheel (checking that you can turn the wheel from the side indentation).
4. Once you know where to place the rotating wheel, remove the protective film from the foam stickers that you have previously placed. Remove the large wheel (it is very easy to remove as we only have to open the brad and remove it), so you can decorate it to your liking and add the messages or illustrations to be visible through the window of your card when you spin the wheel. Once you have your designs stamped and if you have made pencil marks, it is time to erase them (once you are sure that the ink has dried completely).
5. Now, add more foam stickers to your card, on the reverse of your front card. These will add volume, so the wheel can easily rotate.
6. Stick the cardboard that will be the back of your card and that covers the wheel mechanism, and you have completed your card! Just like that, we have a card ready to discover the different messages we have hidden in it.
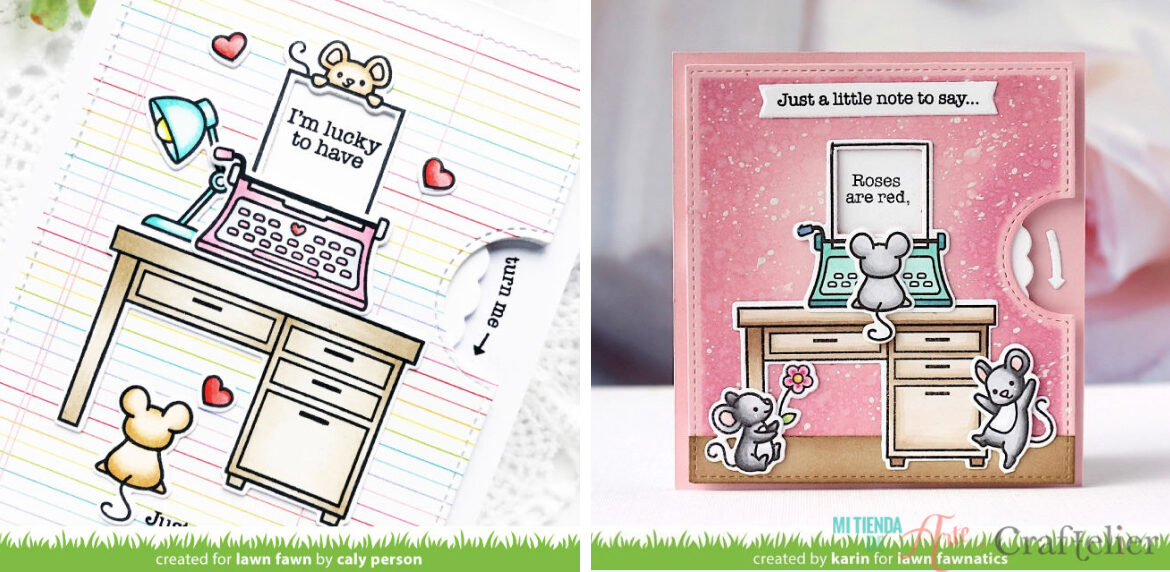
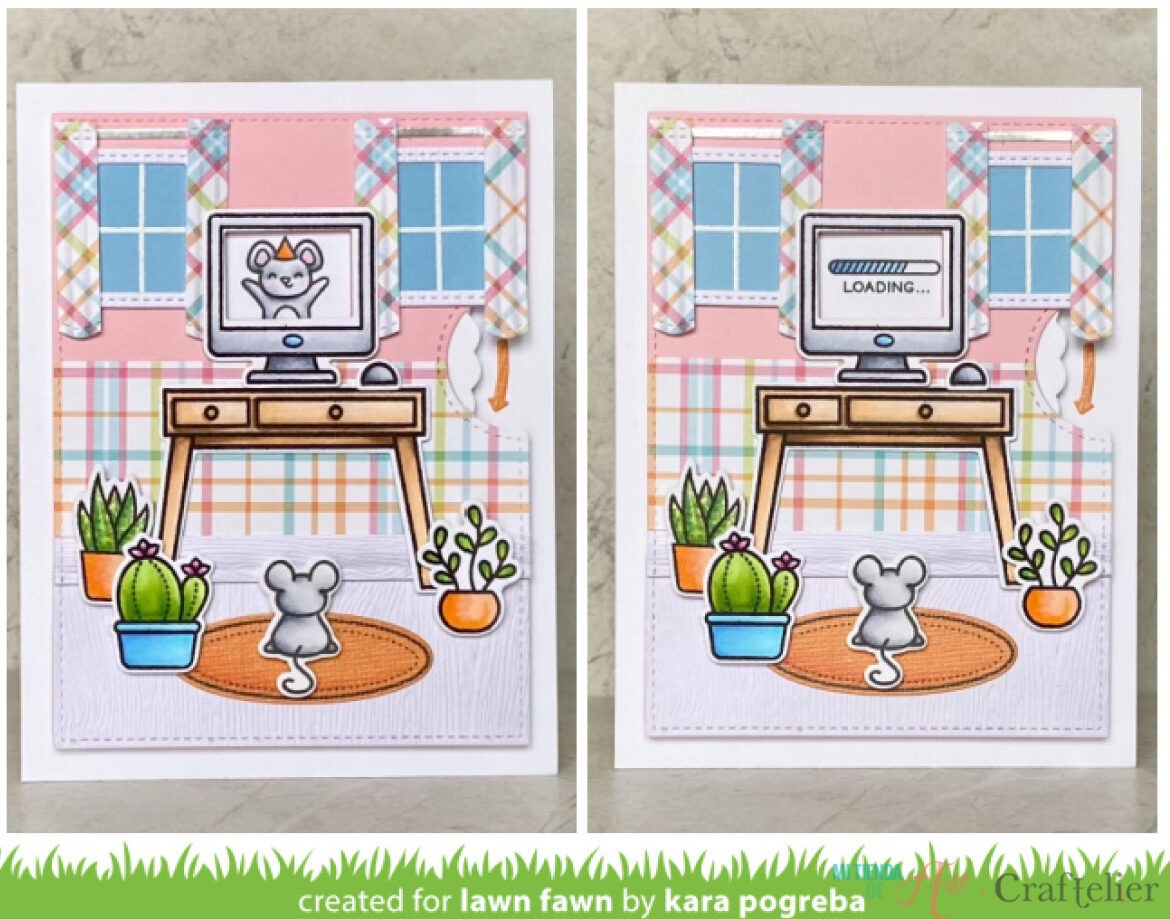
What do you think about this kind of interactive project? We love them, and especially considering the number of incredible projects that can be done with them. They are very versatile, and we can make cards or include them in albums or notebooks, any project we can think of. Because we can also make different phrases on a single card or even small mini-scenes by moving our characters around, the Reveal Wheel is here to shake things up!