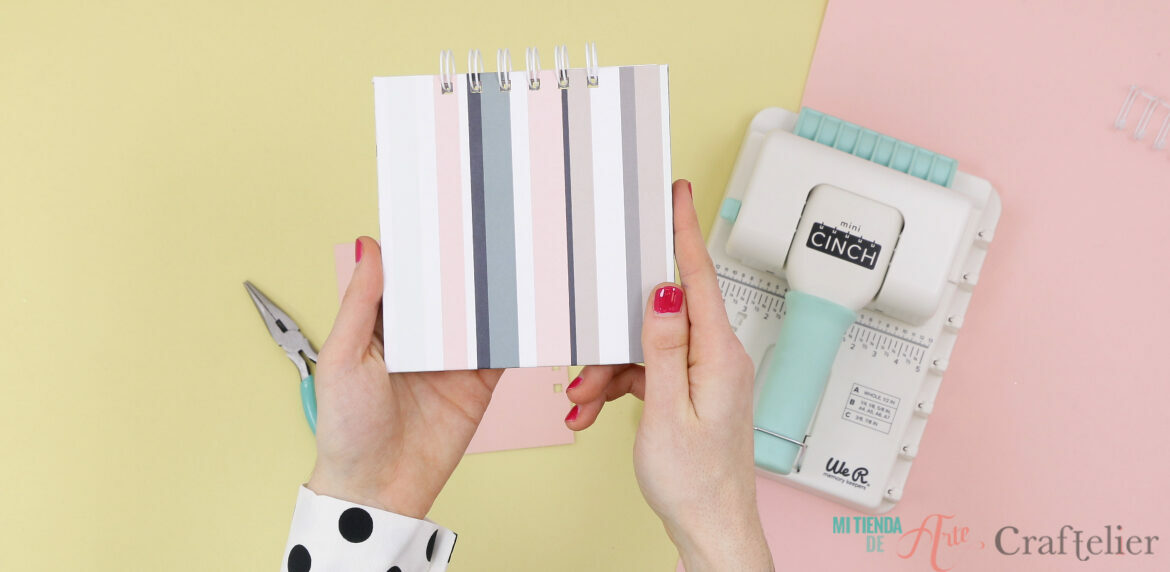
We R Memory Keepers has created a new tool that everyone wants to have.
One of the tools most likely to be found in a scraproom is the Cinch. It's very useful, user-friendly, and suitable for a wide range of projects. So it's no wonder that the American brand has released a new version to commemorate the 10th anniversary of the Cinch, featuring a smaller and more manageable version: the mini Cinch.
We all know the Cinch and the different uses it has but the mini version is still unknown to many. Until now. In this post, you will discover all the secrets of the newest tool from We R.
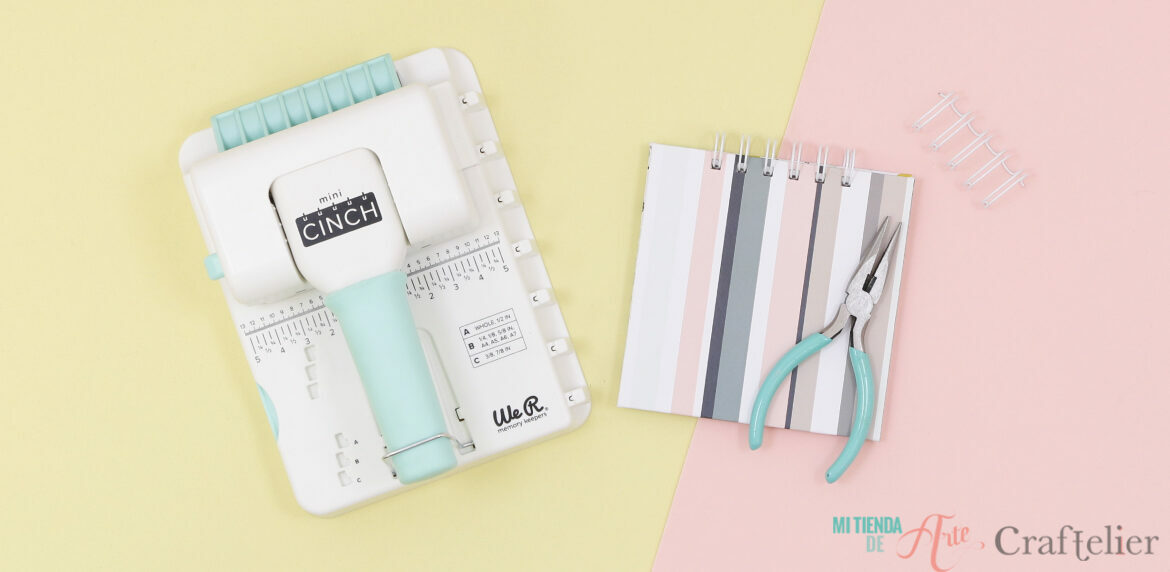
Main feautures
The Mini Cinch is smaller, has a more compact format, making it the perfect tool for thinner works. Plus, since it is so light, you can even take it to a workshop or put it in your suitcase and take it with you on a trip!
It makes square holes, like the Cinch by Heidi Swapp, and can make a maximum of 6 holes at a time, although that doesn't mean that we can't make more, we can always continue drilling holes with the help of the guide that comes with the machine.
What we must take into account is that with the Mini Cinch we can only make projects with a 5/8" ring and Craftelier wire-o.
How does the Mini Cinch work?
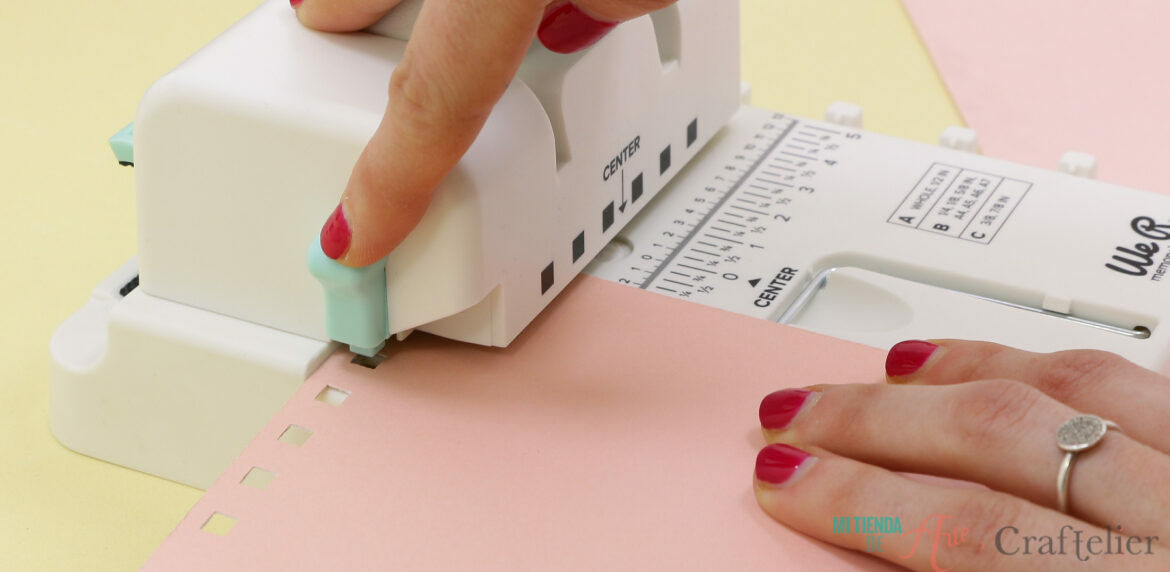
The way it works is not very different from other Cinch binding machines, although there are some factors to take into account, such as, for example, the positioning of the sheets. As indicated on the machine, we can place our paper in up to three different positions depending on the size of the paper.
Naturally, we can use the machine's central ruler to centre the paper. The machine also offers three positions in which, with the help of a guide, we can place our paper.
- Position A: if our paper measures whole or half inches (i.e.: 2", 5", 3.5", 6.5") we should place the alignment guide in this position and place the paper. We're ready to start drilling.
- Position B: this is the position to place our paper if it is A4, A5, A6, A6, A7 or ends 1/4, 1/8, or 5/8.
- Position C: if the sheet we are going to bind ends in 3/8 or 7/8, we will place the alignment guide in the letter C.
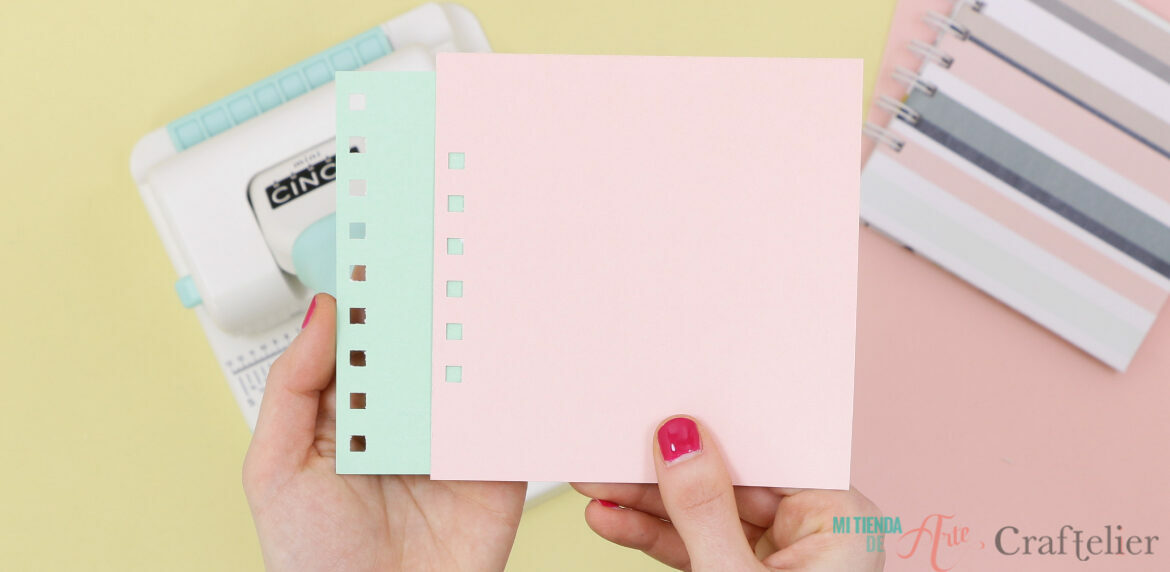
Once we know where we have to place our paper so that the holes are centred, we just have to start punching.
Depending on the size of our sheets and how we have decided to punch the holes, after the first punching we may need to continue punching more holes. Completing the punching is very easy! Just place the second to last hole in the paper under the alignment tab on the left side of the machine. Lower the tab and punch again. Then we raise the tab, and we can remove the paper.
We are now ready to place our pages in their ring. Remember that with the Mini Cinch we can only work with 5/8" rings and Craftelier wire-o. To help us introduce the paper in the rings, we place the ring in the notches on the side of the machine. Now, all we have to do is insert our pages and then place them in the front of the machine. Carefully, we lower the handle of our tool and... ta-da! Our binding is complete.
We know the best way to understand how this machine works is to see it in action, so we've made this video for you:Now it's your turn to tell us what do you think about this new addition to the Cinch family, do you already have one, and you are going to get it or, on the contrary, is it your first machine, and you are deciding on one of the versions?
Remember, if you have any doubts, you can leave us a comment, we are always happy to talk to you :)