
Some time ago we talked about resin, a product that has become very fashionable lately. Then, we briefly explained how to use it and the different options it offers us. As you continue to ask us a lot of questions about this technique, we've decided to dedicate a post to this technique and tell you a little about the different techniques that exist and some other little tricks.
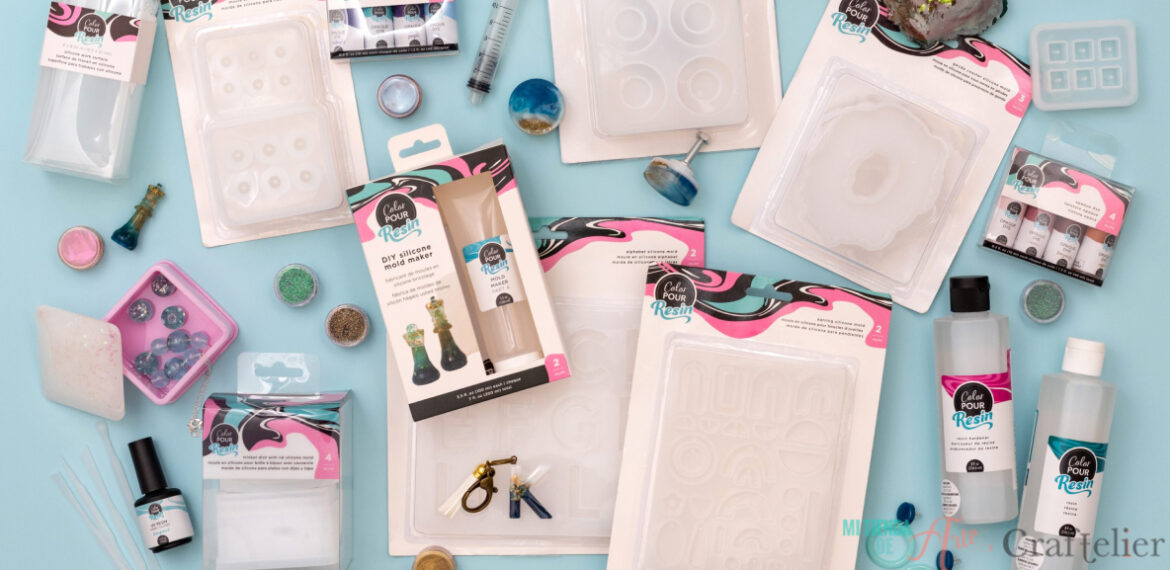
Little tips to make working with resin so much easier
Although working with resin is very easy and fun, there is one issue that often gets us upside down. Bubbles. It's one of the most asked questions: "how can I prevent bubbles from appearing? Or "what can I do to eliminate bubbles?. So... we think we should try to give you an answer to this question. This is what you can do to get rid of those annoying bubbles.
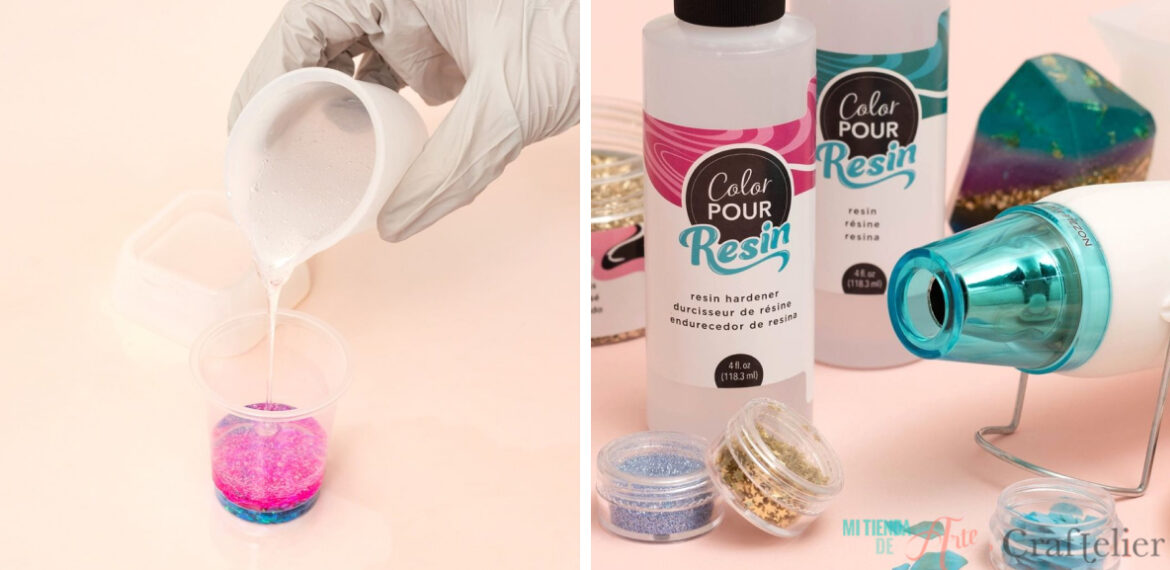
Bubbles can appear in two moments, when we mix the resin with the hardener or when we pour our mixture on the mould or canvas. To avoid this, we can do two things: when mixing the resin with the hardener, do it gently, without whisking quickly or abruptly to prevent it from getting too much air and generating bubbles. When pouring it do it gently and little by little, much better if we do it with the help of a pouring glass.
Even if we'd followed these tips, we discover bubbles in our project, don't panic, there's a solution! Actually, you can try two different methods to eliminate these bubbles. With a heat gun, apply heat over the bubbles, but be careful! Do not dwell too much on the same area, as the resin can overheat and ruin our project. If you don't have a heat gun, you can still get rid of the bubbles with the help of a little stick (it can be a needle, for example). This last option requires a lot of patience, and you must pay attention to what you're doing because if the project you're working with includes different colours, when you stir the resin, you could mix the colours and ruin your design.
In order not to have any problems when working with resin, remember to always use globes to manipulate this product and remember to work on a smooth surface.
Original techniques for working with resin
As we have already seen, the two most common techniques when working with resin are pouring or pouring over moulds; but resin offers many more possibilities. We can make multiple objects such as sealing and varnishing furniture, assembling mosaics, or protecting drawings and paintings. And these are just a few examples because as you know, there are no rules when it comes to crafts, the only limit is our creativity!
Let's take a look at some of our tips for resin projects!
Marble effect:
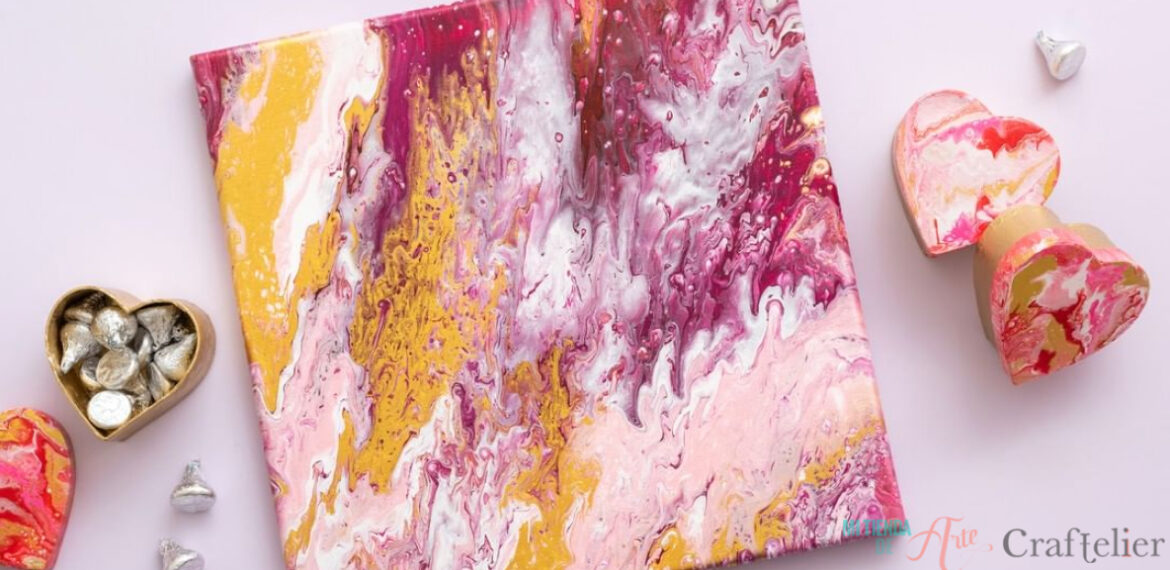
One of the most desired effects to achieve when working with resin is the marble effect. The result is quite spectacular and, unlike what it might seem, it's very easy to get. It's very easy to do!
Once we know what colours we're going to use for our project, and have the mixtures separately, you can add them all to the same cup. The most important thing is not to mix this mixture, just pour one after the other, and leave it like that. Then pour the colours on the work surface and voilà! You have a marble effect project! A trick for this type of technique is to pour the lighter colours first and finish with the darker ones, so our design will look more impressive; although of course, it all depends on the effect and design you want to achieve.
Another way to achieve this marble effect is to pour one after the other, the different colours we have chosen, directly on our canvas. The result is the same, although this will take a little more work. The advantage of this is that you'll be able to have more control over the design.
Dipping objects
This may be an unknown technique, but it's a very interesting one! It consists of dipping the object in resin and keeping it there for a few moments. When taking the object out, do it carefully to avoid mixing the colours too much and to avoid generating bubbles. You'll obtain an object with a shiny finish and a colourful and original design.
Working with tools
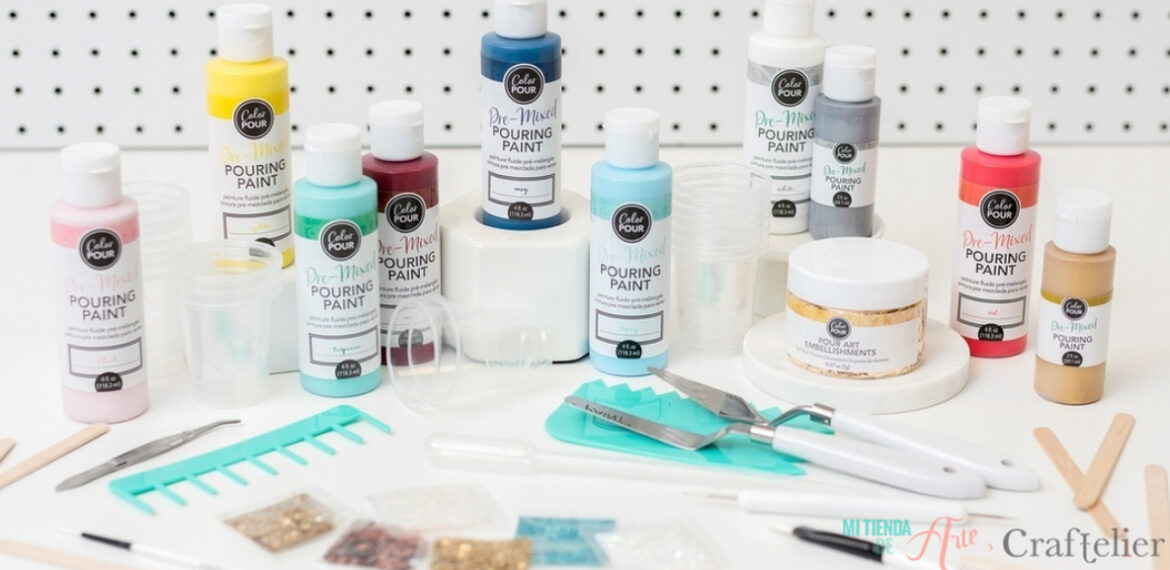
To treat the resin you can use almost any tool and play with them, try different techniques and ways of application. Our recommendation is to try these:
-Needle (or any other pointed element, we can use a pin, a toothpick...). Once the design is ready, with the help of the toothpick, we can move the paint in a precise way and achieve the effect of the threads that are so common to see in this resin projects.
-Pipette: this is the perfect tool if you want to add pigment in small quantities in a specific place. In this way, you can control the place and the amount of paint you're adding.
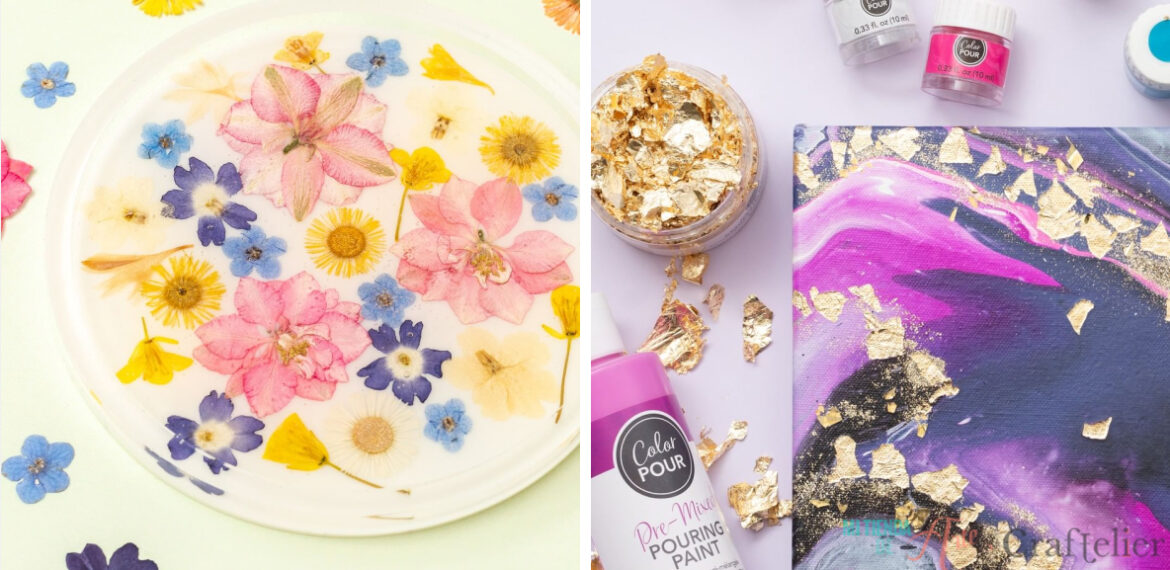
-Tweezers: resin is not all about adding paint, you can add other types of elements such as metallic foil flakes (it always looks beautiful and adds shine to our projects) or dried flowers, for example. It'd be so much easier to add these elements if we use tweezers. As we have to work with gloves to protect ourselves, the tweezers will be very helpful to pick up these small elements.
-Spatula: when you pour too much resin into a mould, the spatula will be the best tool you can have to remove the excess of it. It'll also be very useful for spreading large amounts of resin.
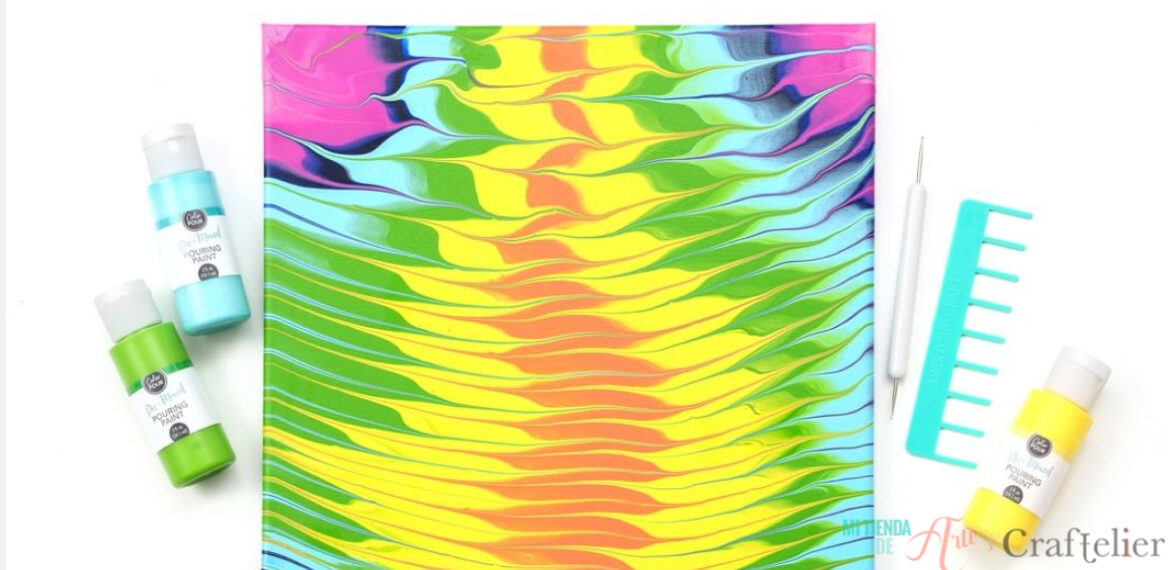
-Comb: it may be an unexpected element for this kind of projects, but you'll love the effects you can do with it, as making striped effects and mixing colours subtly.
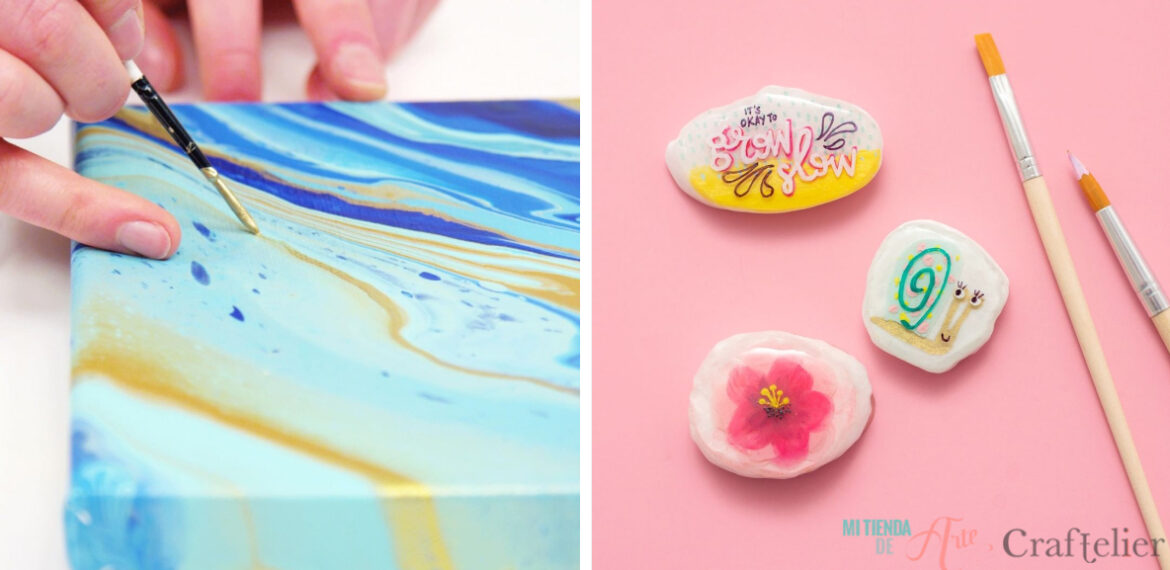
-Brushes: very interesting tool as you can vary the thickness, size and shapes to get different results that allow you to add a special touch to your project. They're very useful when the resin has already dried but you still want to add more decorations to your project.
-Torch: it allows you to create different textures, but it's a tool you should be careful with. Apply heat with quick movements (between 3 and 5 seconds on the surface) and be careful not to apply heat for too long in the same area, it could burn the area and ruin our project.
You've seen there's an almost infinite number of ways to create with resin. What is your favourite technique? Let us know in the comments!








