

This mini die cutter is the latest addition to our range of tools for die cutting and embossing.
Our first Minty Cut has a compact size, measuring 20.5 x 9 x 12 cm, so you can store it in any corner or keep it handy on the table, ready to use at any time. You can also take it with you wherever you go, be it to a workshop, on holiday, on a creative getaway...

What can you die-cut with it, being so small?
The Minty cut is compatible with almost all the thin metal dies on the market, which are most of the ones we use, as well as embossing folders that fit in the opening. Please note that the plates measure 16,5 x 7,5 cm, so you will be able to use all dies and folders smaller than that size with your Minty Cut.
In terms of materials, the Minty Cut cuts paper, cardboard, vellum, and even EVA or thin fabrics up to 1 mm. A great little die cutter, very versatile, perfect for beginners or to use as a complement if you already have a bigger one.
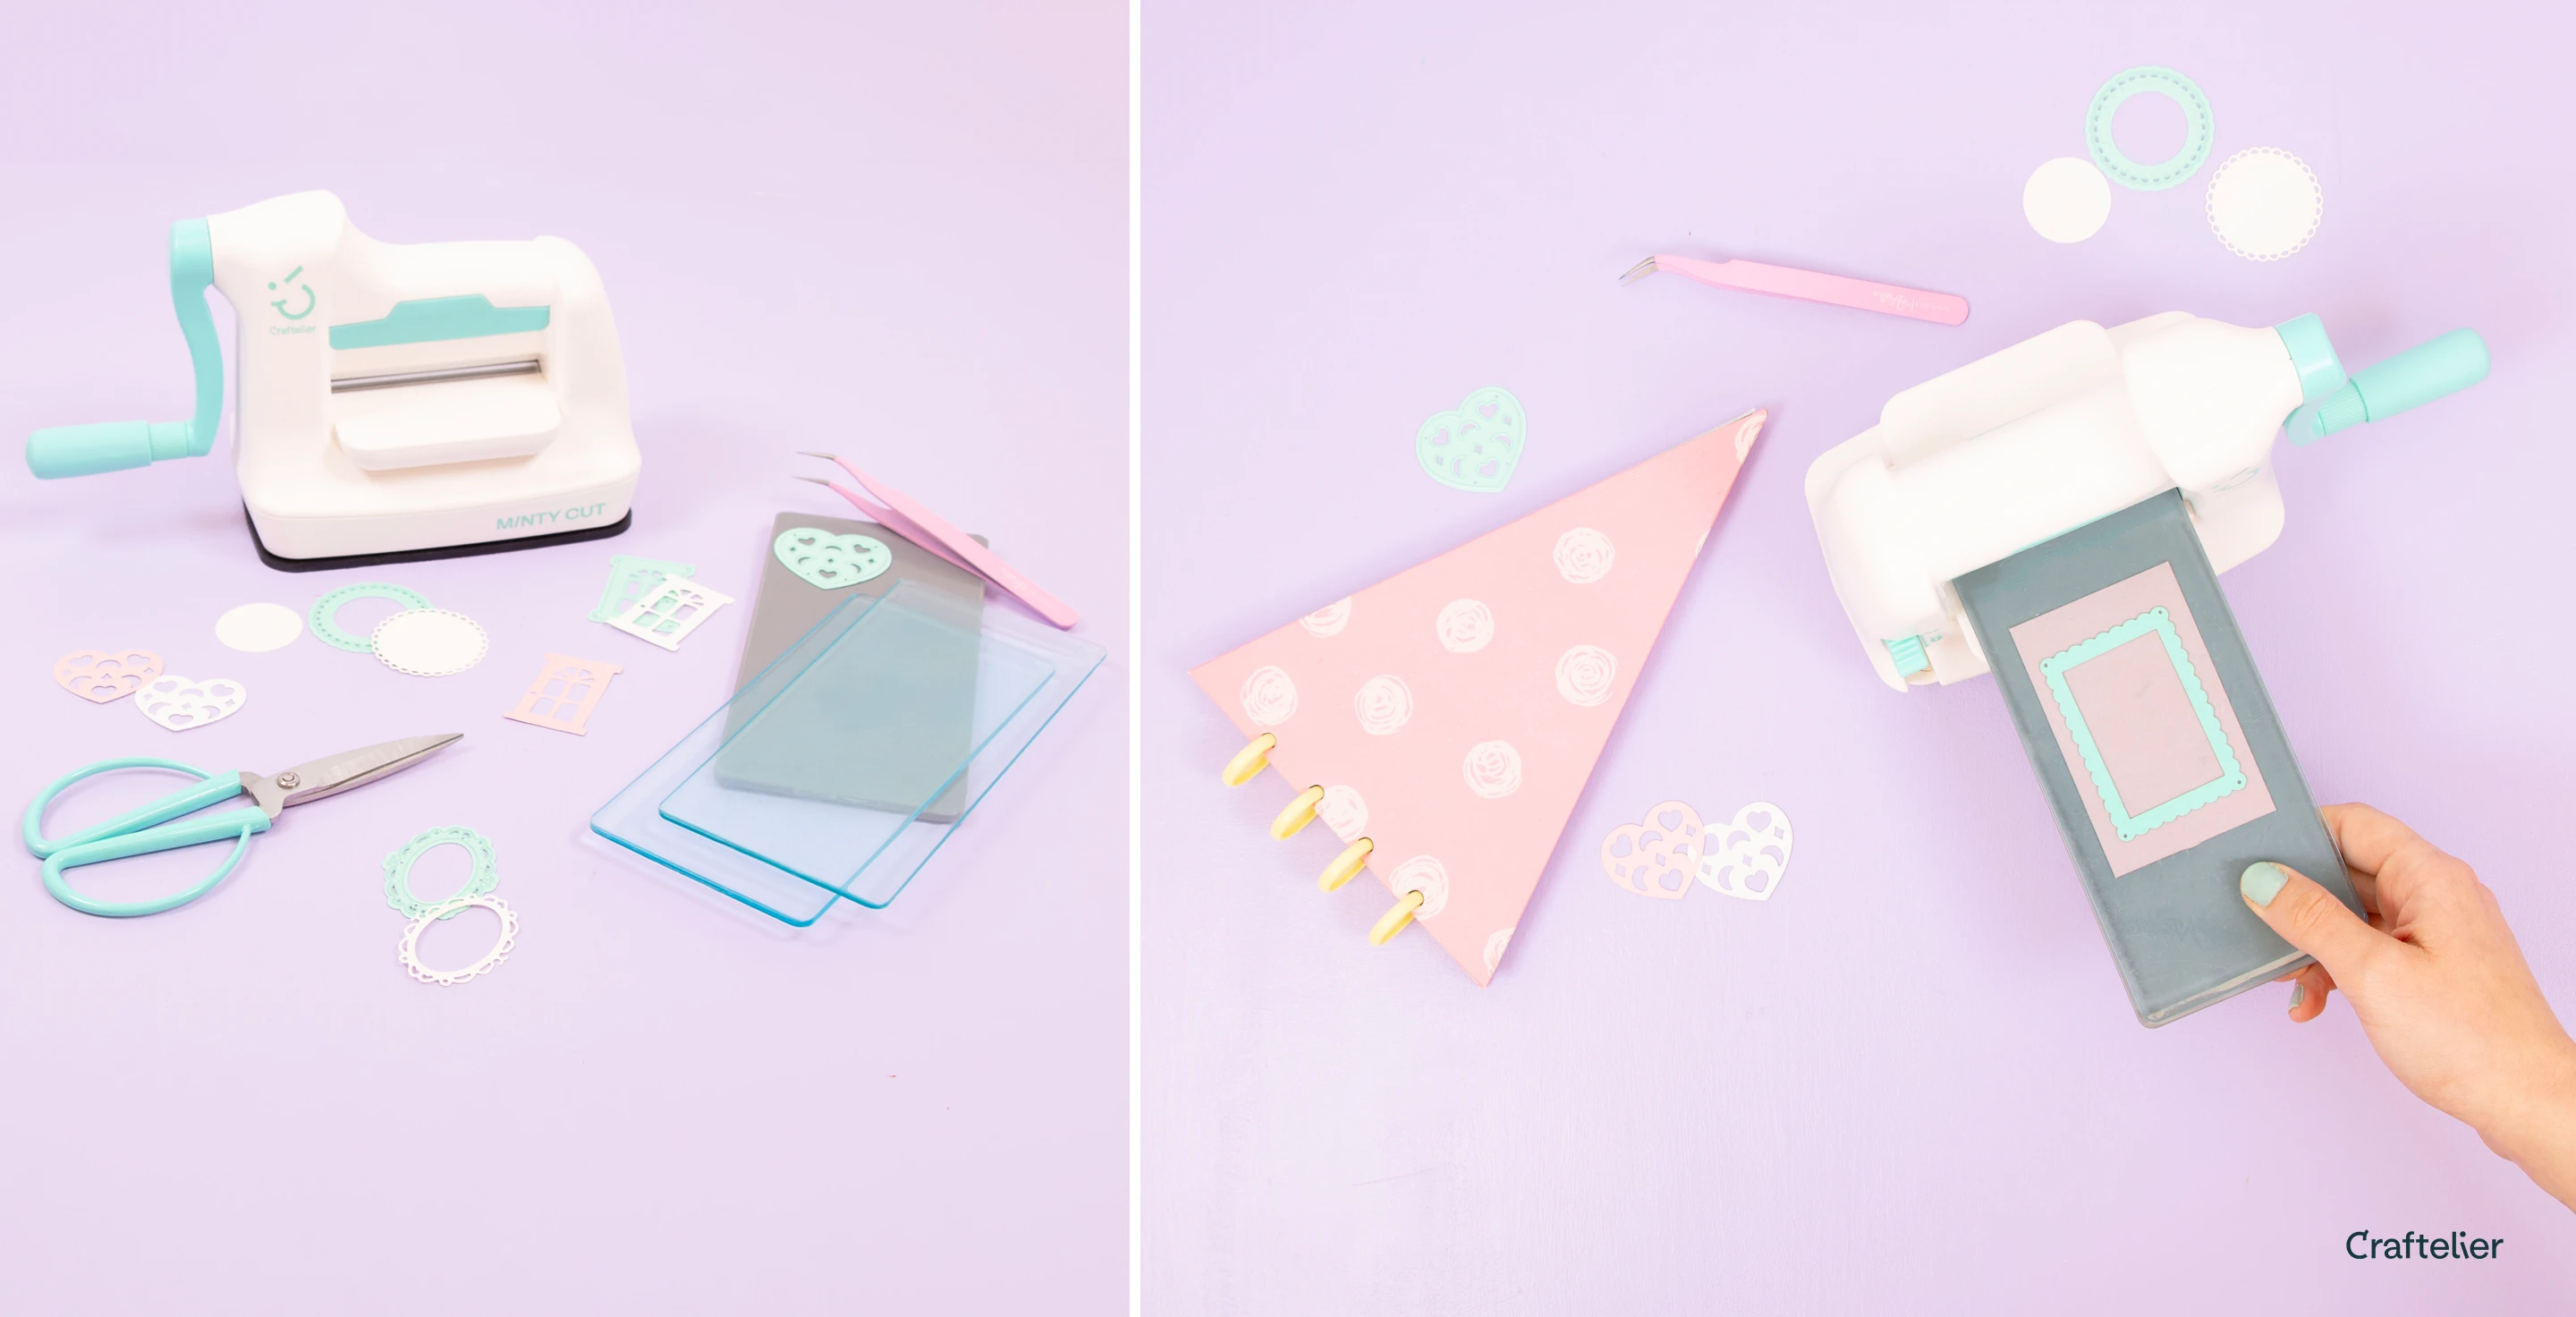
Super easy to use!
It works, like most die-cutting machines, by pressure. It has rollers in the centre, and when the plates with the material are passed between them by turning the crank, these rollers press the die to cut or the embossing folder to emboss.
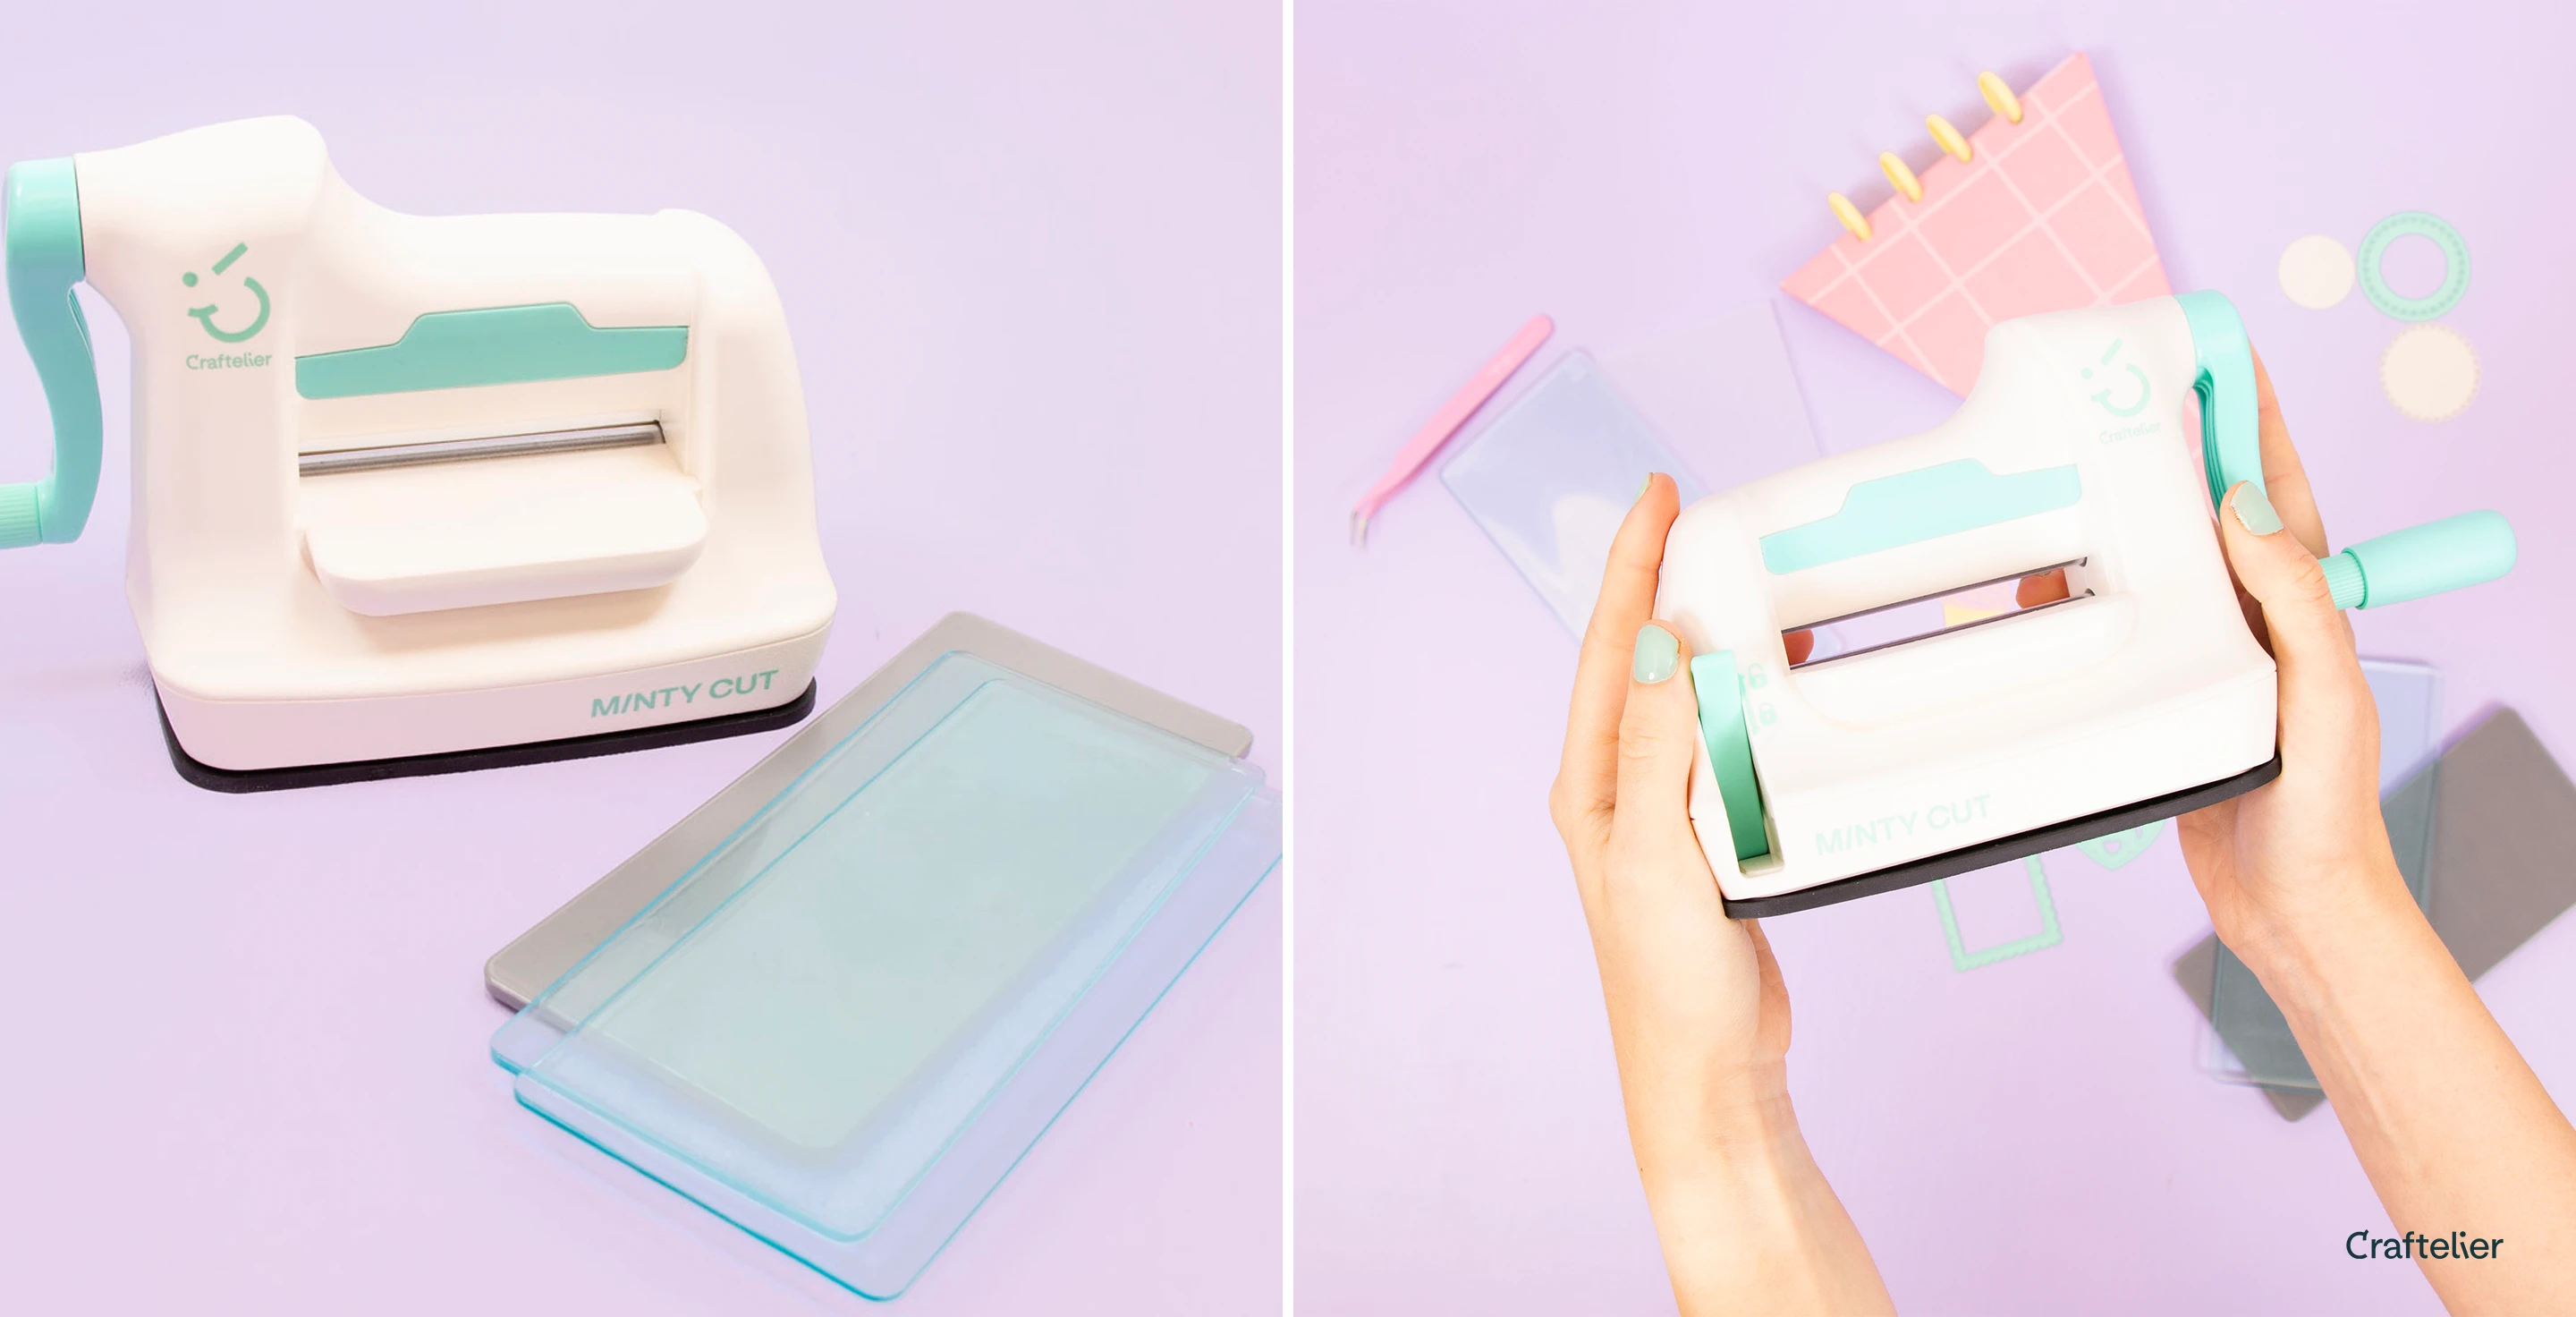
To gain stability, the Minty Cut incorporates a suction cup on its base. Place it on a smooth surface and lower the lever on the left side. You will see that it is firmly attached to the table, so you can die cut or emboss with total comfort.
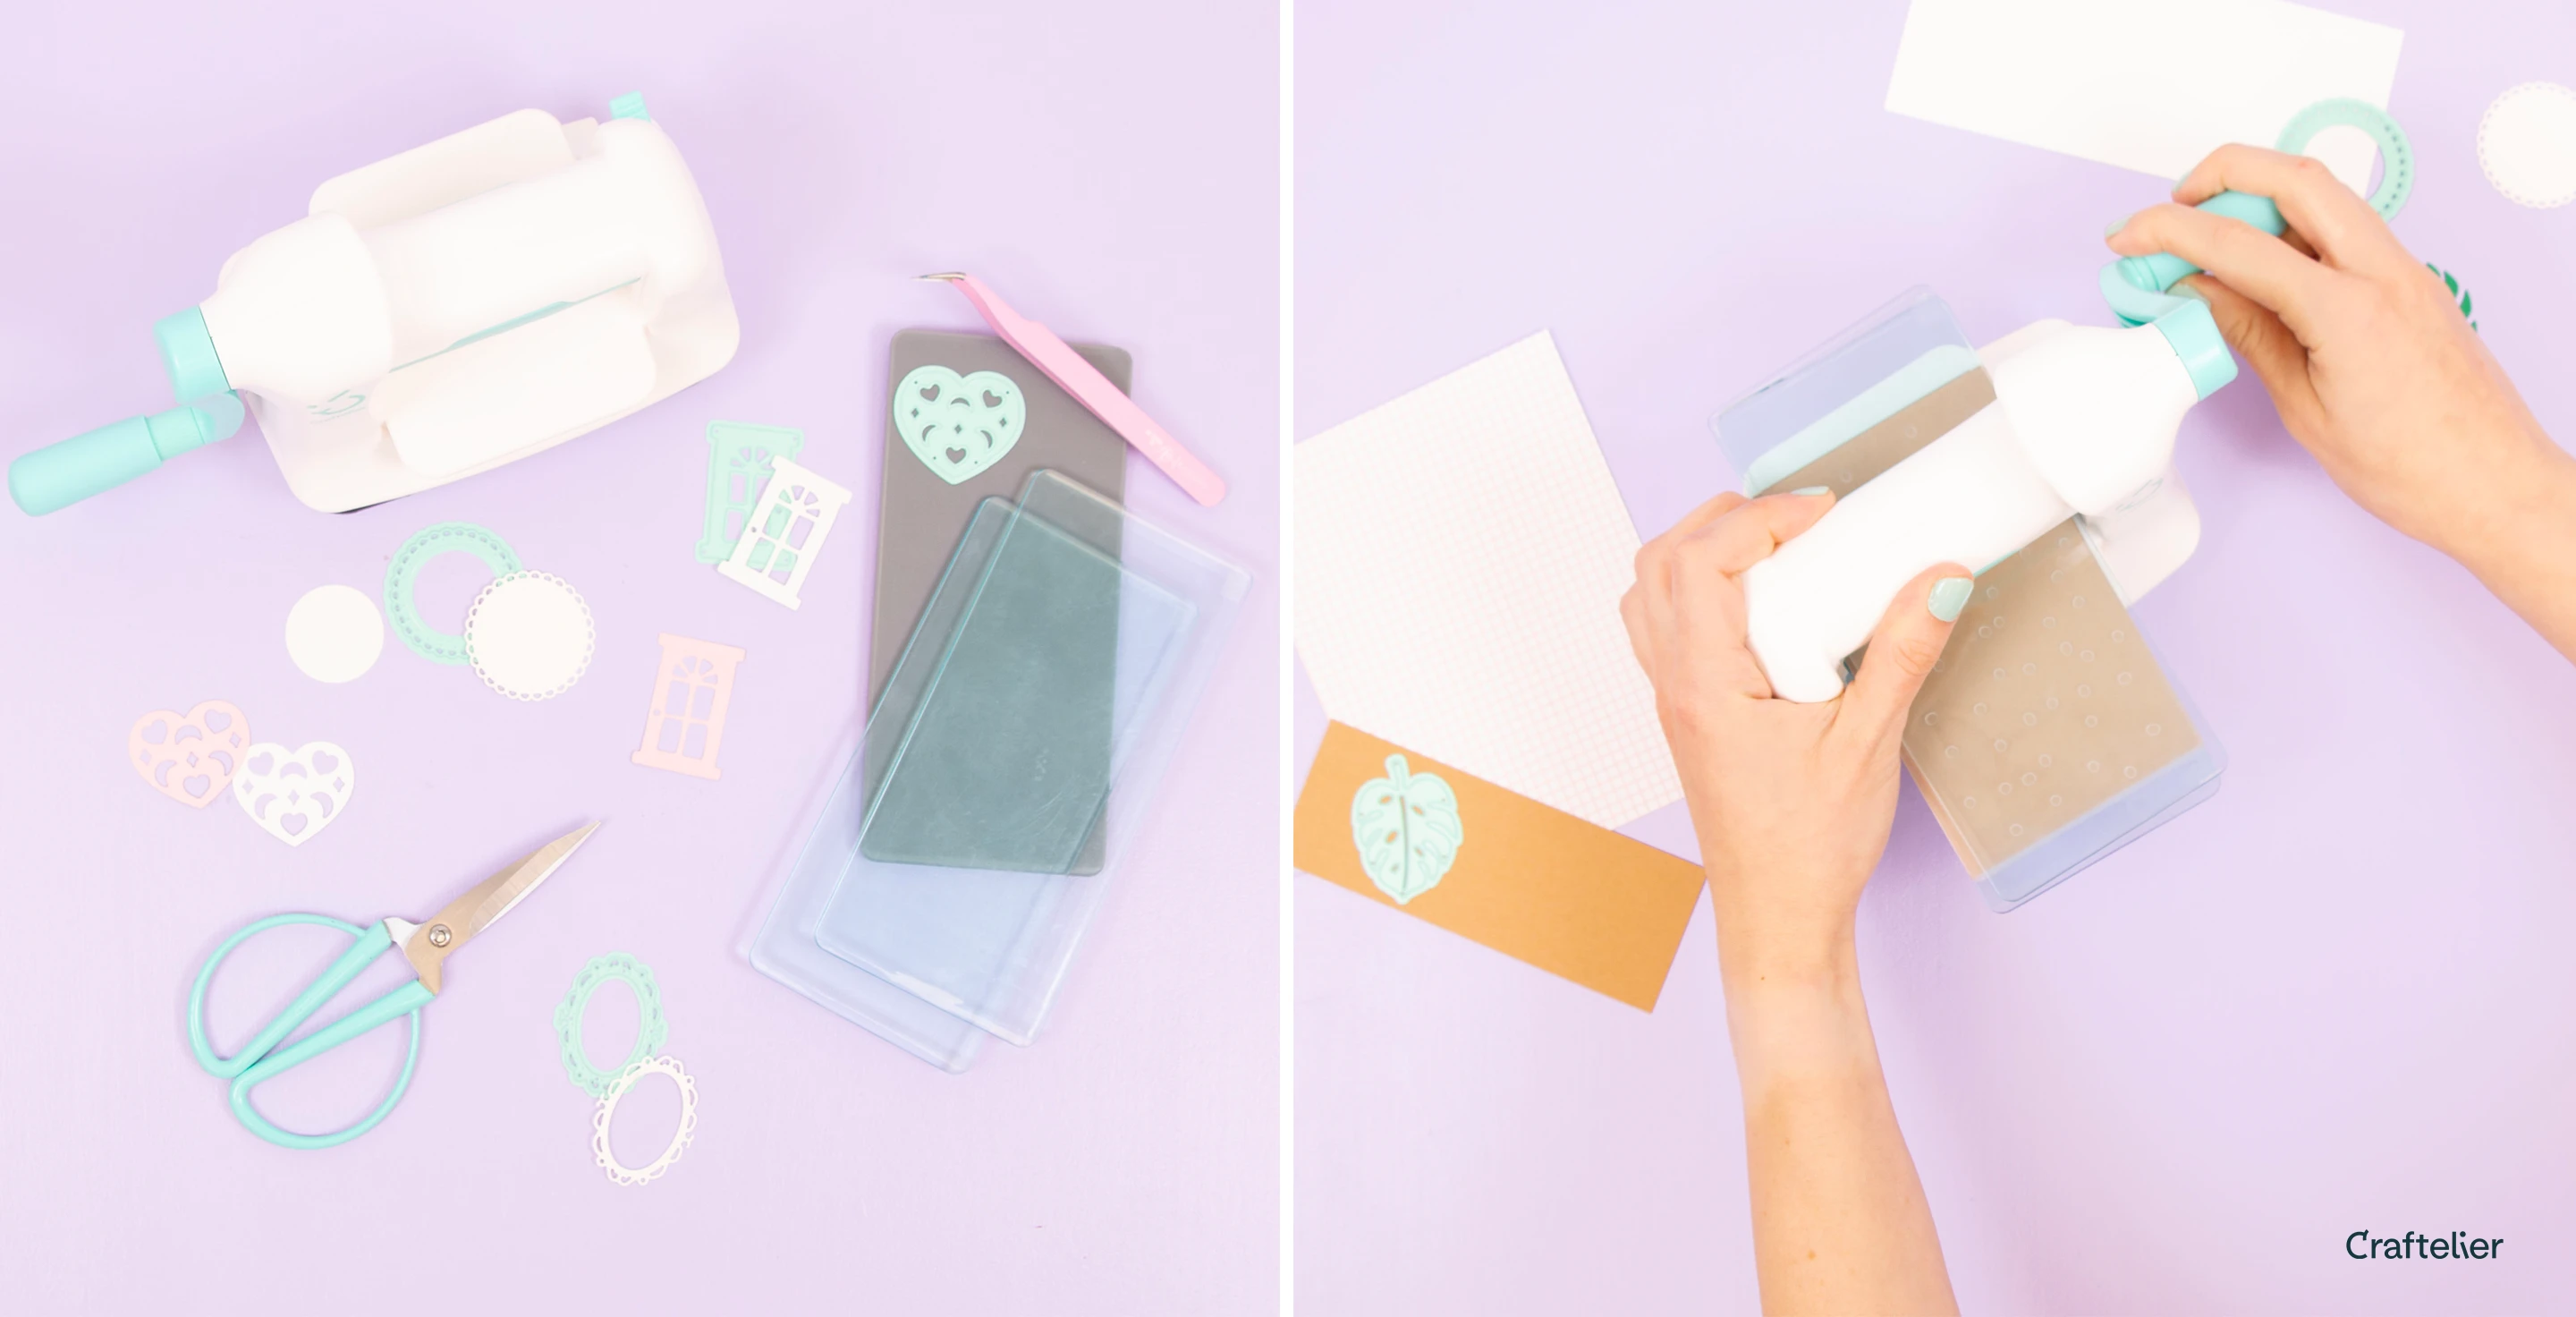
Inside the box you will find, in addition to the die-cutting machine, 3 plates and the instructions. With the plates we must form the so called ‘sandwich’, to be able to cut and emboss.
How to make the sandwich
If we want to die-cut, we place the base plate C at the bottom, on top we place the material we want to die-cut, on top the die with the blade facing downwards (so that it can cut the material) and at the top, to close the sandwich, we place the transparent plate B. We check that the plates are well aligned and we pass them through the Minty Cut by turning the crank. If the die has intricate shapes or a lot of detail, we recommend passing it through a couple of times so that the piece is well cut.
To emboss, place the paper or cardboard inside the embossing folder, and the embossing folder between the two transparent plates (B and E). We pass the sandwich through the die-cutting machine and when we take out the paper we will see that the design of the folder has been embossed on the paper. Remember that if you want to do both things in the same piece, you must first die-cut and then emboss, to avoid squashing the embossing.
Get more out of it with the Mini Magic Mats!
The Minty Cut is compatible with the Craftelier Mini Magic Mat. With them, in addition to extending the life of the plates, you will be able to get much more out of both the die cutter and the dies.
The turquoise absorbs the cuts from the dies, so you don't damage the grey plate. When making the sandwich, place the dies with the blade facing towards it. The order would be: Mini Magic Mat, cardboard, die, C base plate.
The pink one is magnetic, so the dies are attached to it and it is not necessary to use washi tape. In this case the sandwich is as follows: Mini Magnetic Magic Mat, dies (with the blade facing upwards), cardboard, C base plate.
With the silicone one we can use the embossing dies. That is to say, the design of the die will be marked on the paper but without cutting it. And in this case the order is: E base, Mini Embossing Magic Mat, cardboard, die, C base. If you want it to be more marked, you can put a couple of pieces of cardboard on top to make more pressure.
If you want to see how to make all these plate combinations, there is a detailed video about the Minty Cut on our YouTube channel.
A must-have tool for your scraproom!
A die-cutting machine is an essential tool when it comes to scrapbooking, and the Minty Cut is ideal, whatever your creative space. A perfect ally to create all your projects, from small tags, die-cuts in thousands of shapes or infinite alphabets. If you are still thinking about it, don't hesitate any longer and get it, or ask for it as a gift, you'll love it!
Related products to this post
Want to release your creativity? Do you want to know which products we've talked about in this post? Here they are:








