I got to play with some of the new Tim Holtz/Ranger Distress Oxides and let me tell you: they are SO much fun and with them you will have so many possibilities!
Hey there, it’s Kathleen (aka ScatteredConfetti) here and I’m excited to be sharing my first blogpost for Craftelier with you!
Today I want to share two projects with you to show you some of the techniques that you can do with them.
Although of course you can use them as regular stamp ink pads with your stamps, there is so much more.
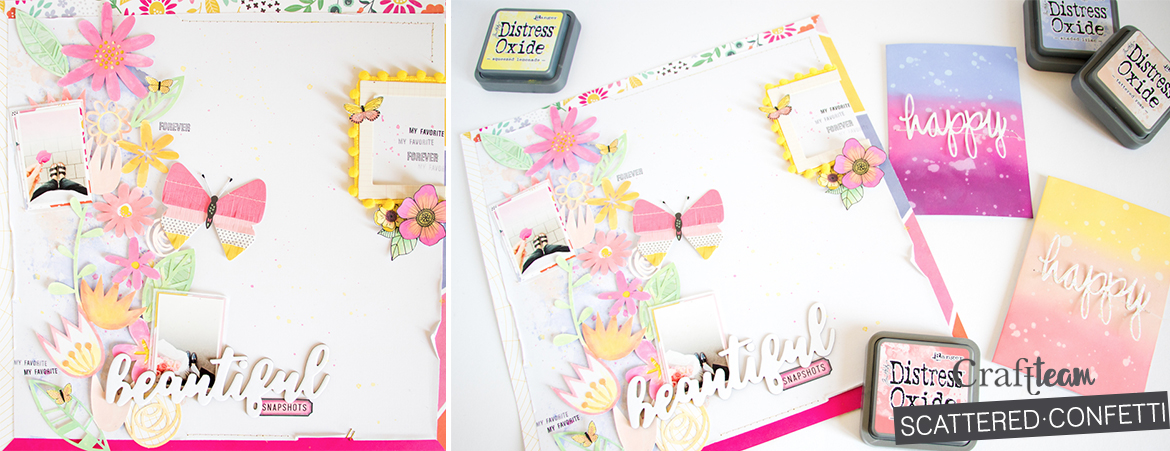
For my layout I used only four strips of patterned paper as a frame around my layout and some pieces to mat my photos, some embellishments and the rest was all made with the Distress Oxides (At the end of this blogpost you can find the list of all the colours I used).
First I cut the floral cutfile with my Silhouette Portrait out of white cardstock. Then I used some of the Distress Oxides, smushed them onto some plastic packaging and sprayed them with water to create my own water colours to paint my cutfile.
I also dipped a paintbrush into the self-made water colours and then flicked it across my layout to create some paint splatters.
To add some more colour behind the cutfile, I used the packaging technique to smudge some purple and light pink onto my white cardstock.
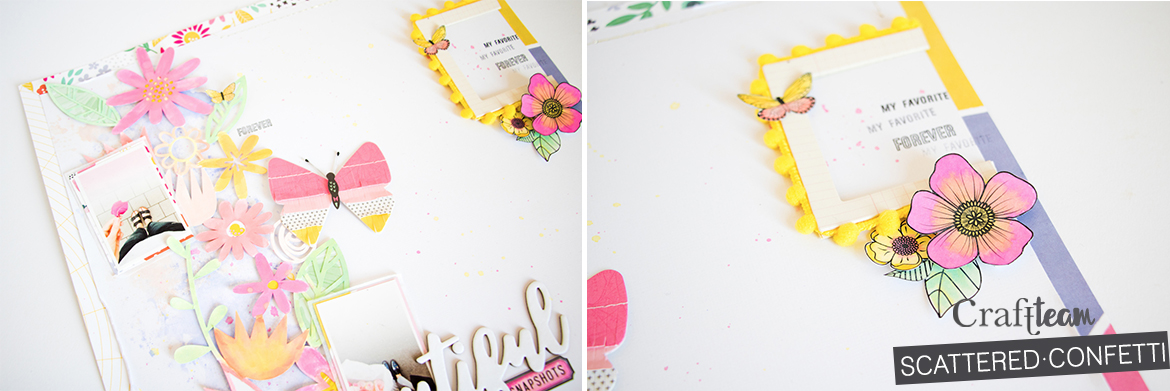
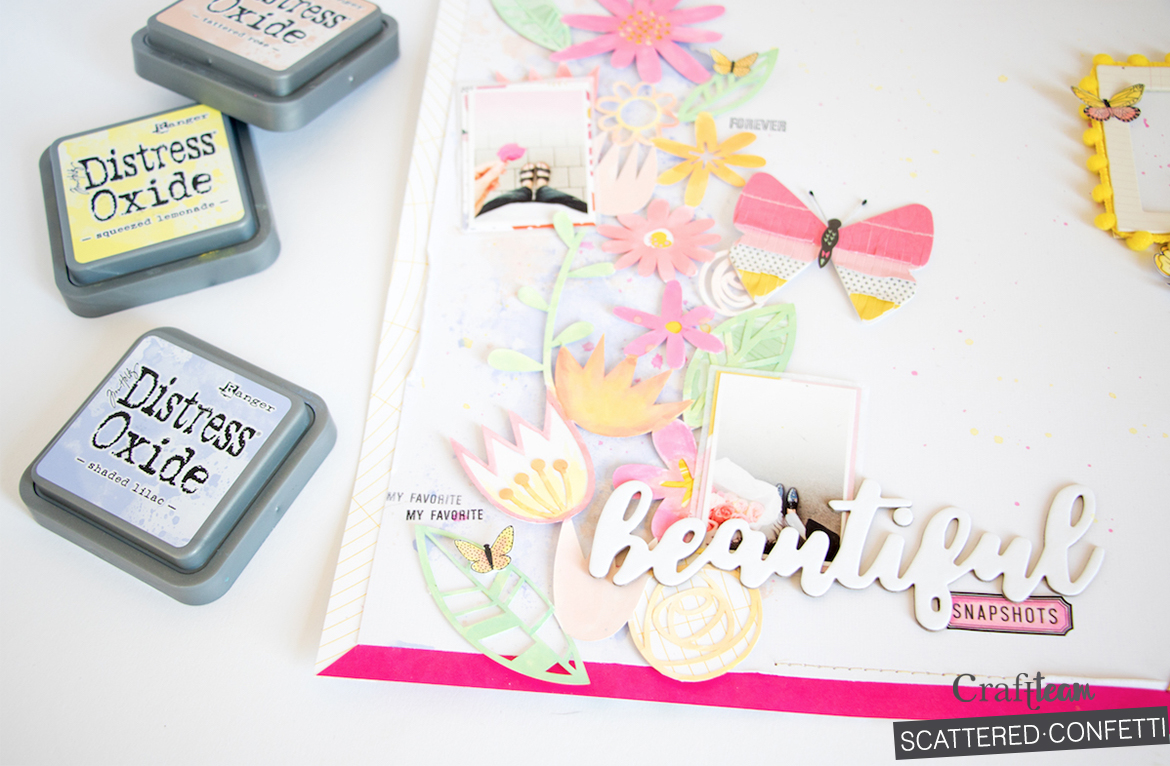
For my embellishments I used (amongst others) the American Crafts/Vicki Boutin watercolour stickers (for example the flowers & butterflies around the frame on the right side), and of course I also coloured them using the Distress Oxides.
What I love about them is that they are really bright and vibrant and you can easily mix them to create the exact colours you want.
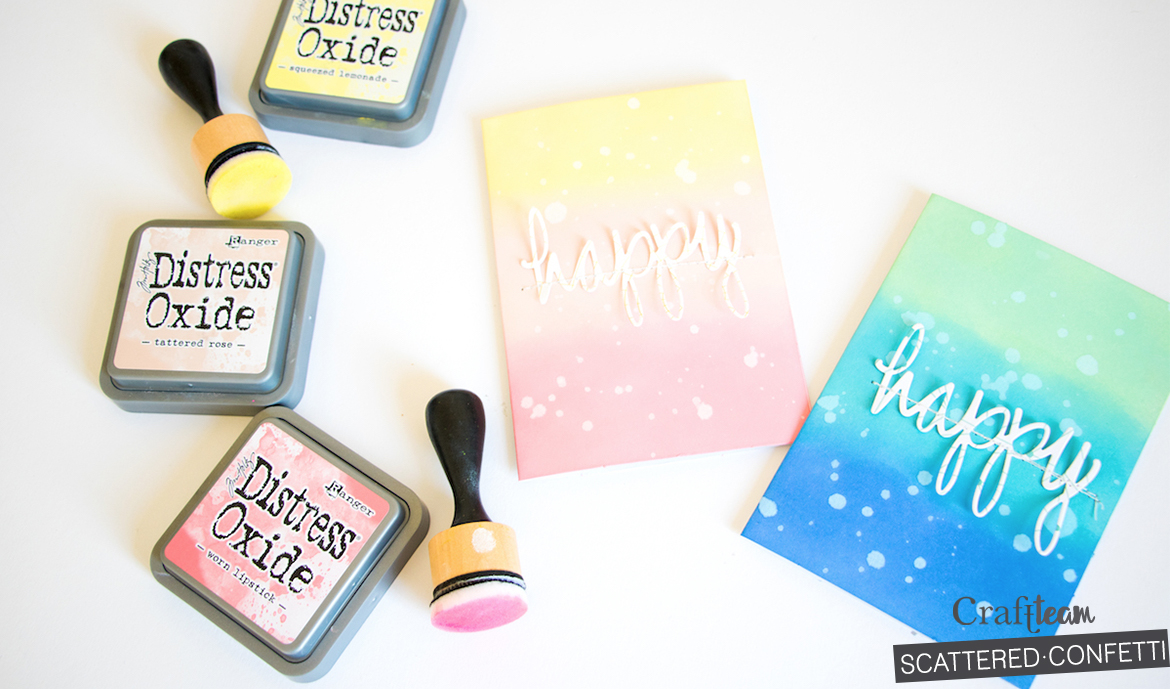
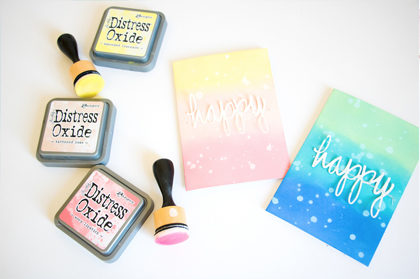
Apart from using the Distress Oxides wet (as watercolours), you can also use a blending tool to rub the colours onto your paper, like I did with the cards in the photo below. For each card I chose three colours that would work well together and then I rubbed them onto my paper using a blending tool.
The special effect you can only get with the Distress Oxides is this really cool oxidised/bleached look. For that all you need to do is splatter some water onto the areas you covered with the Distress Oxides. The water will react with the colours and almost bleach it out, creating this nice look of water drops.
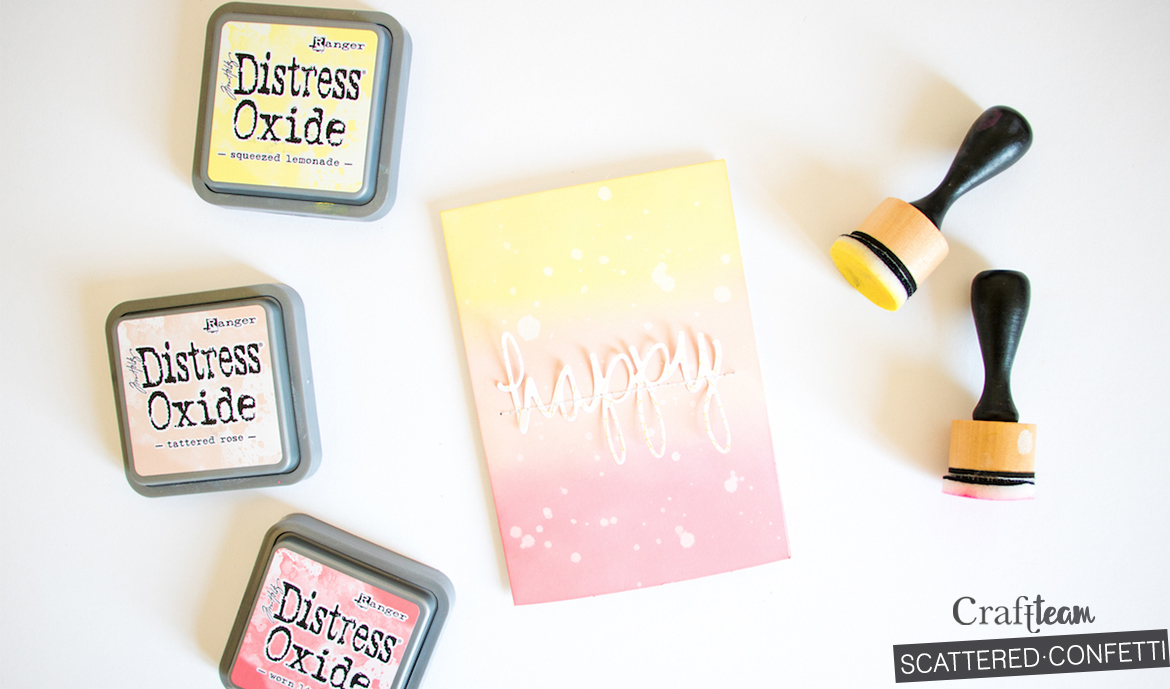
With this technique it’s really quick and easy to create some beautiful cards. All you need to add is a sentiment, like „hello“, „thank you“, or something like that, and you will have a cute card ready to go.
I hope you liked the projects I shared with you today and that you will give the Distress Oxide a try! Let me know if you have any questions!
Here’s an overview of (some of the many) techniques you can do with the Distress Oxide:
-
- Stamping
- Make your own watercolours to paint cutfiles, stickers, etc.
- Use them instead of spray paints to create paint splatters
- Use a blending tool to create a background & drip water onto it to get the oxidised effect
- And many more ?
Thanks for stopping by today!
Kathleen
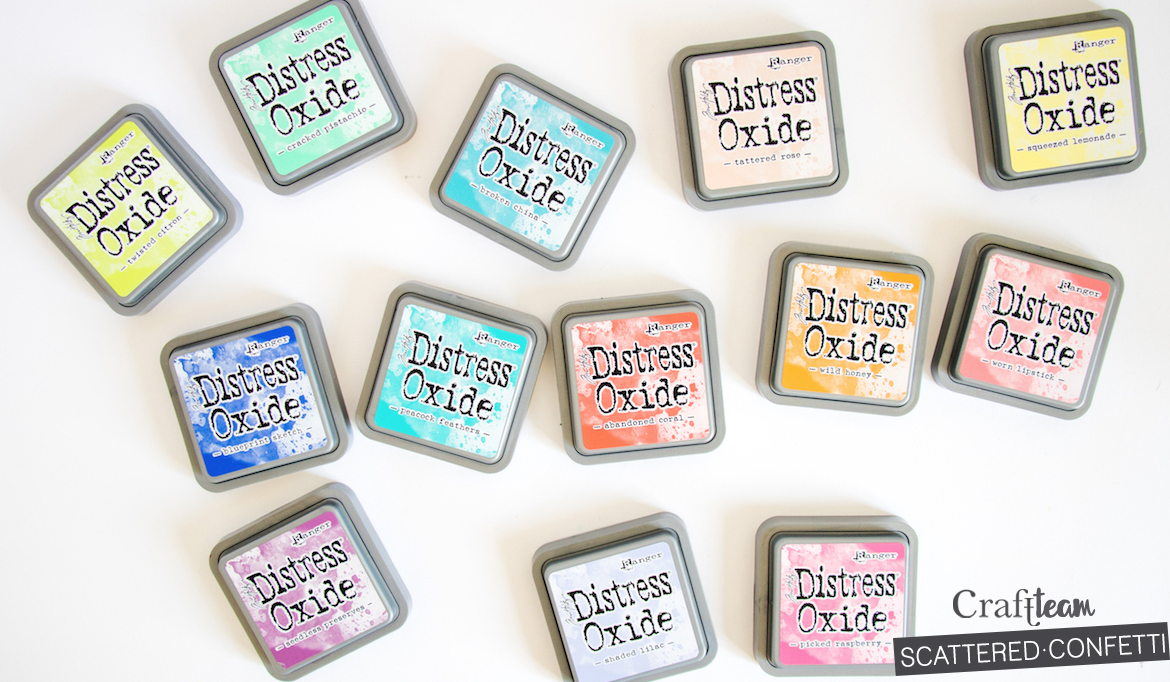
Colours I used for the layout:
Squeezed Lemonade // Wild Honey // Tattered Rose // Worn Lipstick // Abandoned Coral // Picked Raspberry // Cracked Pistachio // Shaded Lilac
Colours I used for the cards:
Squeezed Lemonade // Tattered Rose // Worn Lipstick
Cracked Pistachio // Peacock Feathers // Blueprint Sketch
Carole
the flowers are from a cutfile. A cutfile is a pattern that you can download and cut with an electronic die cutting machine like the Silhouette Cameo or Portrait, or the Brother Scan 'n Cut, for example. Hope that helps! :)
Kathleen